
1. પરિચય
Thank you for choosing the InFocus P120 INL412 Multimedia Projector. This manual provides essential information for the safe and efficient operation of your projector. Please read it thoroughly before using the device and retain it for future reference. The InFocus P120 INL412 is designed for versatile multimedia presentations, offering clear and vibrant images for various applications.
2. સલામતી માહિતી
To ensure safe operation and prevent damage to the projector, please observe the following safety precautions:
- વેન્ટિલેશનના છિદ્રોને અવરોધશો નહીં. ઓવરહિટીંગ અટકાવવા માટે યોગ્ય હવા પ્રવાહ માટે પ્રોજેક્ટરની આસપાસ પૂરતી જગ્યાની ખાતરી કરો.
- પ્રોજેક્ટર લેન્સમાં સીધું જોવાનું ટાળો જ્યારે એલamp ચાલુ છે, કારણ કે તેજસ્વી પ્રકાશ આંખને નુકસાન પહોંચાડી શકે છે.
- પ્રોજેક્ટરને અસ્થિર કાર્ટ, સ્ટેન્ડ અથવા ટેબલ પર ન મૂકો. પ્રોજેક્ટર પડી શકે છે, જેનાથી બાળક અથવા પુખ્ત વયના લોકોને ગંભીર ઈજા થઈ શકે છે અને યુનિટને ગંભીર નુકસાન થઈ શકે છે.
- Disconnect the power cord from the wall outlet if the projector will not be used for an extended period.
- બધી સર્વિસિંગ લાયકાત ધરાવતા સેવા કર્મચારીઓને સોંપો. પ્રોજેક્ટરને જાતે ખોલવાનો કે રિપેર કરવાનો પ્રયાસ કરશો નહીં.
- Keep the projector away from water or moisture. Do not expose it to rain or immerse it in liquid.
- Use only the power cord supplied with the projector or an authorized replacement.
3. પેકેજ સામગ્રી
Verify that all items listed below are included in your projector package:
- InFocus P120 INL412 Multimedia Projector
- પાવર કોર્ડ
- બેટરી સાથે રીમોટ કંટ્રોલ
- વીજીએ કેબલ
- વપરાશકર્તા માર્ગદર્શિકા (આ દસ્તાવેજ)
- ઝડપી પ્રારંભ માર્ગદર્શિકા
4. ઉત્પાદન ઓવરview
Familiarize yourself with the main components of your InFocus P120 INL412 projector.
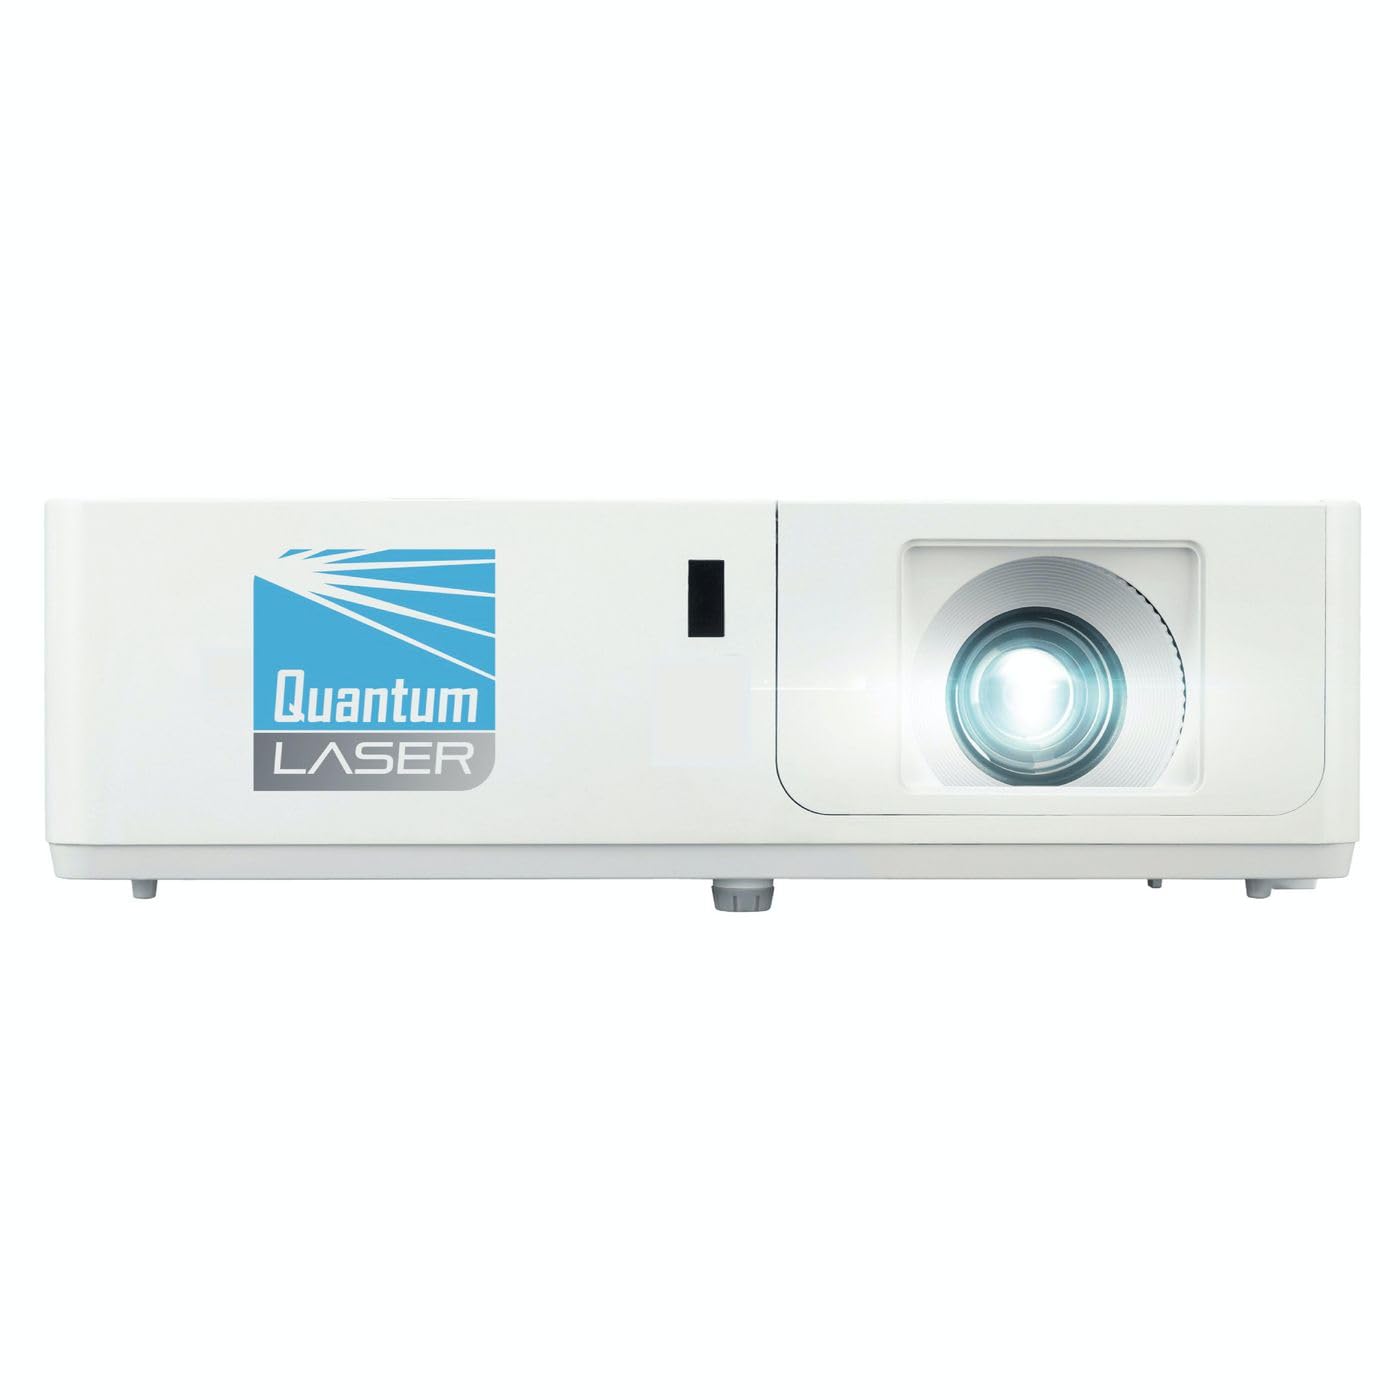
છબી 1: આગળ view of the InFocus P120 INL412 Multimedia Projector, showing the lens and ventilation grilles.
4.1 ફ્રન્ટ પેનલ
- પ્રોજેક્શન લેન્સ: સ્ક્રીન પર છબી પ્રકાશિત કરે છે.
- ફોકસ રિંગ: પ્રોજેક્ટ કરેલી છબીની સ્પષ્ટતાને સમાયોજિત કરે છે.
- ઝૂમ રિંગ: પ્રોજેક્ટ કરેલી છબીનું કદ સમાયોજિત કરે છે.
- આઇઆર રીસીવર: રિમોટ કંટ્રોલથી સંકેતો મેળવે છે.
4.2.૧ ટોચની પેનલ
- નિયંત્રણ પેનલ: Buttons for power, menu navigation, source selection, and keystone correction.
- સૂચક લાઇટ્સ: Display the projector's status (e.g., power, lamp, temperature).
4.3 Rear Panel (Connectivity)
- HDMI ઇનપુટ: Connects to HDMI-enabled devices (laptops, Blu-ray players).
- VGA ઇનપુટ: Connects to computers with VGA output.
- યુએસબી પોર્ટ: For service or connecting USB devices (if supported by model).
- ઑડિયો ઇન/આઉટ: For connecting external audio sources or speakers.
- પાવર ઇનલેટ: પાવર કોર્ડને જોડે છે.
5. સેટઅપ
તમારા પ્રોજેક્ટરના પ્રારંભિક સેટઅપ માટે આ પગલાં અનુસરો:
- પ્લેસમેન્ટ: Place the projector on a stable, flat surface or mount it securely. Ensure the projector is positioned at an appropriate distance from the screen to achieve the desired image size.
- પાવર કનેક્શન: Connect the power cord to the projector's power inlet and then to a grounded electrical outlet.
- સ્ત્રોત ઉપકરણને કનેક્ટ કરો: Connect your source device (e.g., laptop, DVD player) to the projector using an appropriate cable (HDMI, VGA, etc.). Ensure the cable is securely connected to both the source and the projector.
- પાવર ચાલુ: Press the power button on the projector's control panel or the remote control to turn on the projector. The power indicator light will illuminate.
- ફોકસ અને ઝૂમ ગોઠવો: Once an image is projected, rotate the focus ring on the lens until the image is sharp and clear. Use the zoom ring to adjust the image size to fit your screen.
- કીસ્ટોન કરેક્શન: If the image appears trapezoidal, use the keystone correction function (either via buttons on the projector/remote or through the on-screen menu) to square the image.
6. ઓપરેટિંગ સૂચનાઓ
6.1 પાવર ચાલુ/બંધ
- પાવર ચાલુ કરવા માટે: Press the power button once. The projector will go through a warm-up sequence.
- પાવર ઓફ કરવા માટે: Press the power button twice. The first press will prompt a shutdown confirmation; the second press will initiate shutdown. Allow the projector to cool down completely before unplugging.
6.2 સ્ત્રોત પસંદગી
Press the 'Source' button on the projector or remote control to cycle through available input sources (HDMI, VGA, etc.) until your desired source is displayed.
6.3 મેનુ નેવિગેશન
Press the 'Menu' button to access the on-screen display (OSD) menu. Use the arrow buttons to navigate through options and 'Enter' or 'OK' to select. Use the 'Exit' or 'Menu' button to close the OSD.
- છબી સેટિંગ્સ: Adjust brightness, contrast, color, aspect ratio, and picture mode.
- ડિસ્પ્લે સેટિંગ્સ: Configure keystone, projection mode (front/rear, desktop/ceiling), and resolution.
- ઑડિઓ સેટિંગ્સ: Control volume and audio output options.
- સિસ્ટમ સેટિંગ્સ: Manage language, timer, power-saving modes, and factory reset.
7. જાળવણી
નિયમિત જાળવણી શ્રેષ્ઠ કામગીરી સુનિશ્ચિત કરે છે અને તમારા પ્રોજેક્ટરનું આયુષ્ય લંબાવે છે.
- લેન્સ સફાઈ: ખાસ કરીને ઓપ્ટિકલ સપાટીઓ માટે રચાયેલ નરમ, લિન્ટ-ફ્રી કાપડથી પ્રોજેક્ટર લેન્સને ધીમેથી સાફ કરો. ઘર્ષક ક્લીનર્સ અથવા વધુ પડતા બળનો ઉપયોગ કરશો નહીં.
- કેબિનેટ સફાઈ: Use a soft, dry cloth to clean the projector's exterior. For stubborn marks, dampen the cloth slightly with water. Avoid using harsh chemicals.
- એર ફિલ્ટર સફાઈ/બદલી: Check the air filter periodically. If your model has a removable filter, clean it with a soft brush or vacuum cleaner. Replace the filter as recommended in the on-screen menu or when visibly dirty to maintain proper ventilation.
- Lamp બદલી: પ્રોજેક્ટર એલamp મર્યાદિત આયુષ્ય ધરાવે છે. જ્યારે lamp life indicator appears, or the image brightness significantly decreases, replace the lamp according to the instructions provided in the full service manual or by a qualified technician. Always allow the projector to cool down completely before attempting lamp બદલી
8. મુશ્કેલીનિવારણ
સામાન્ય સમસ્યાઓ અને તેમના ઉકેલો માટે નીચેના કોષ્ટકનો સંદર્ભ લો:
| સમસ્યા | સંભવિત કારણ | ઉકેલ |
|---|---|---|
| કોઈ છબી પ્રદર્શિત નથી | Power cord disconnected, incorrect input source, source device off. | Check power connections. Select correct input source. Ensure source device is powered on. |
| છબી અસ્પષ્ટ છે | લેન્સ ફોકસની બહાર, ખોટો પ્રક્ષેપણ અંતર. | Adjust the focus ring on the lens. Reposition the projector closer or further from the screen. |
| છબી ટ્રેપેઝોઇડલ છે | પ્રોજેક્ટર સ્ક્રીન પર લંબ નથી. | Use keystone correction (manual or automatic) to square the image. |
| પ્રોજેક્ટર વધુ ગરમ થાય છે અને બંધ થાય છે | Blocked ventilation, dirty air filter. | Ensure clear space around vents. Clean or replace the air filter. |
| રીમોટ કંટ્રોલ કામ કરતું નથી | Dead batteries, obstruction between remote and projector, incorrect angle. | Replace batteries. Ensure clear line of sight to IR receiver. Point remote directly at the projector. |
9. સ્પષ્ટીકરણો
Key technical specifications for the InFocus P120 INL412 Multimedia Projector:
| લક્ષણ | સ્પષ્ટીકરણ |
|---|---|
| મોડલ નંબર | P120 INL412 (Item model number: 7296144) |
| ડિસ્પ્લે પ્રકાર | ડીએલપી |
| મૂળ ઠરાવ | 1280 x 800 |
| મહત્તમ ડિસ્પ્લે રિઝોલ્યુશન | 1280 x 800 |
| કનેક્ટિવિટી ટેકનોલોજી | USB (and other standard inputs like HDMI, VGA) |
| ઉત્પાદન પરિમાણો | 5.25 x 0.31 x 1.66 ઇંચ |
| વસ્તુનું વજન | 6.6 પાઉન્ડ |
| ઉત્પાદક | ફોકસમાં |
10. વોરંટી અને સપોર્ટ
The InFocus P120 INL412 Multimedia Projector comes with a standard manufacturer's warranty. Please refer to the warranty card included in your package for specific terms and conditions, including warranty duration and coverage details. For technical support, service, or further inquiries, please visit the official InFocus support webસાઇટ અથવા તેમના ગ્રાહક સેવા વિભાગનો સંપર્ક કરો.
સૌથી અદ્યતન સપોર્ટ માહિતી માટે, કૃપા કરીને મુલાકાત લો: www.infocus.com/support