1. પરિચય
This manual provides detailed instructions for the setup, operation, maintenance, and troubleshooting of your SWIFT 350T 40X-2500X Trinocular Compound Microscope. This instrument is designed for observing minute details on prepared slides, suitable for educational, clinical, and hobbyist applications. It features a trinocular head for simultaneous visual observation and digital imaging, a mechanical stage for precise sample movement, and an Abbe condenser for optimal illumination.
એક ઓવરview of the SWIFT 350T Trinocular Compound Microscope, showcasing its main components including the trinocular head, objective lenses, mechanical stage, and base.
2. સલામતી માહિતી
- Always handle the microscope with care. Avoid sudden impacts or vibrations.
- Ensure the microscope is placed on a stable, level surface to prevent tipping.
- Keep the microscope away from direct sunlight, high temperatures, dust, and corrosive chemicals.
- Disconnect the power cord before cleaning or performing any maintenance.
- Do not attempt to disassemble the optical or mechanical components unless specifically instructed.
- Use only the provided power adapter or one with identical specifications.
3. પેકેજ સામગ્રી
અનપેક કરતી વખતે ખાતરી કરો કે બધા ઘટકો હાજર છે અને નુકસાન વિના છે:
- SWIFT 350T Trinocular Compound Microscope Body
- ત્રિકોણીય વડા
- WF10X Eyepieces (pair)
- WF25X Eyepieces (pair)
- Objective Lenses (4X, 10X, 40X, 100X Oil)
- 10MP ડિજિટલ કેમેરા
- USB Cable for Camera
- Digital Camera Software CD
- પાવર એડેપ્ટર
- નિમજ્જન તેલ
- Prepared Slides (set)
- ડસ્ટ કવર
- વપરાશકર્તા માર્ગદર્શિકા
4. ઘટક ઓળખ
Familiarize yourself with the various parts of your microscope using the diagram below:

A detailed diagram identifying key parts of the microscope, such as the camera port, Siedentopf head, eyepieces, objective lenses, mechanical stage, and focusing knobs.
- કેમેરા પોર્ટ: For attaching the digital camera.
- Siedentopf Head: Rotatable head for comfortable viewing
- 360° રોટેટેબલ હેડ: Allows the head to be rotated for shared viewing
- Revolving Nosepiece: Holds the objective lenses and allows for easy magnification changes.
- મિકેનિકલ એસtage: Platform for holding and moving slides.
- Abbe Condenser Height Adjustment Wheel: Controls the vertical position of the condenser.
- Iris Diaphragm Adjustment: Controls the amount of light passing through the specimen.
- એલઇડી લાઇટ: Illumination source.
- WF10X, 25X Eyepiece: Interchangeable eyepieces for different magnifications.
- ડાયોપ્ટર એડજસ્ટમેન્ટ નોબ: Compensates for differences in vision between eyes.
- Head Fastening Screw: Secures the trinocular head to the microscope body.
- ઉદ્દેશ્ય લેન્સ: Primary magnification components (4X, 10X, 40X, 100X).
- Slide Holder: Secures the specimen slide on the mechanical stage.
- બરછટ ગોઠવણ: Large knob for rapid focusing.
- ફાઇન એડજસ્ટમેન્ટ: Small knob for precise focusing.
- X-Y Translational Axis Control: Knobs for moving the mechanical stage horizontally.
- Dimming Handwheel: Adjusts the brightness of the LED illumination.
5. સેટઅપ
5.1 અનપેકિંગ અને એસેમ્બલી
- પેકેજિંગમાંથી તમામ ઘટકોને કાળજીપૂર્વક દૂર કરો.
- Place the microscope body on a stable, level surface.
- Loosen the head fastening screw on the top of the microscope body.
- Gently insert the trinocular head into the top opening, ensuring it is fully seated. Tighten the head fastening screw to secure it.
- Insert the desired eyepieces (WF10X or WF25X) into the eyepiece tubes of the trinocular head.
- Rotate the revolving nosepiece to ensure the 4X objective lens is positioned directly above the stage.
5.2 પાવર કનેક્શન
Connect the power adapter to the microscope's power input jack and then plug it into a suitable electrical outlet. Ensure the power switch is in the 'Off' position before connecting.
5.3 Digital Camera Installation
- Remove the dust cap from the camera port on the trinocular head.
- Carefully insert the 10MP digital camera into the camera port.
- પ્રદાન કરેલ USB કેબલનો ઉપયોગ કરીને કેમેરાને તમારા કમ્પ્યુટર સાથે કનેક્ટ કરો.
- Install the camera software from the included CD or download the latest version from the manufacturer's webસાઇટ. ઇન્સ્ટોલેશન માટે ઓન-સ્ક્રીન સૂચનાઓને અનુસરો.

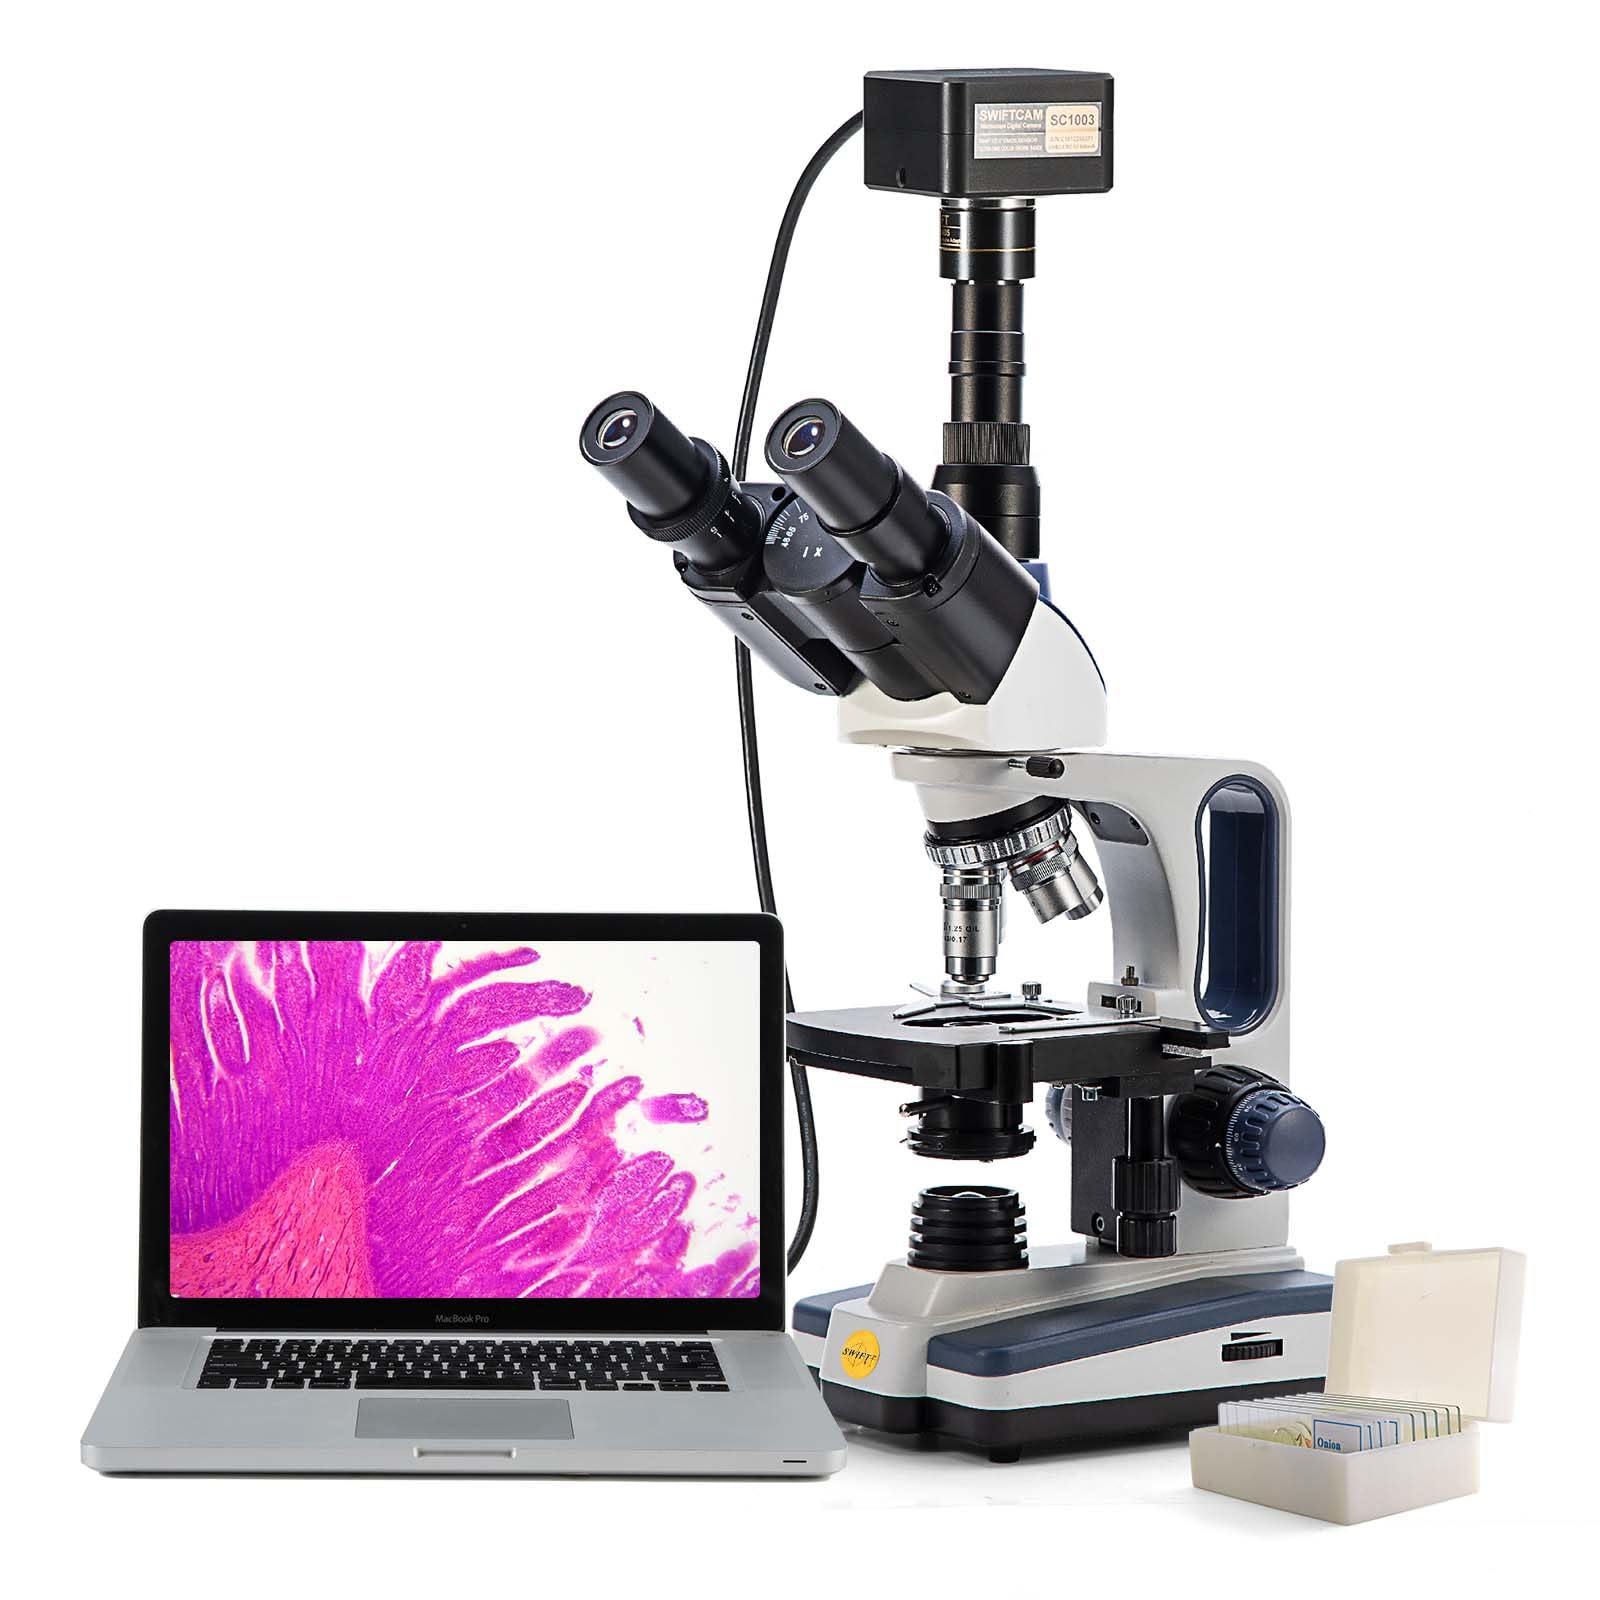
The SWIFT microscope with its 10MP digital camera attached to the trinocular port, displaying a live image on a connected laptop, illustrating digital observation capabilities.

The 10MP digital camera, its accompanying software installation disk, and a USB cable for connecting the camera to a computer.
6. ઓપરેટિંગ સૂચનાઓ
6.1 Placing a Specimen Slide
- Ensure the 4X objective lens is in position.
- યાંત્રિક s નીચે કરોtage using the coarse adjustment knob to create enough space.
- Open the slide holder clip on the mechanical stage and carefully place a prepared slide onto the stage. Release the clip to secure the slide.
- Use the X-Y translational axis control knobs to position the desired area of the specimen directly under the objective lens.
6.2 Illumination Adjustment
- Turn on the microscope's power switch.
- Adjust the brightness of the LED light using the dimming handwheel.
- Adjust the Abbe condenser height using its adjustment wheel for optimal light focus on the specimen.
- Open or close the iris diaphragm to control contrast and resolution. A good starting point is to match the diaphragm opening to the numerical aperture of the objective lens in use.
૪.૨ ધ્યાન કેન્દ્રિત કરવું અને વિસ્તૃતીકરણ
- With the 4X objective in place, slowly raise the mechanical stage using the coarse adjustment knob while looking through the eyepieces until the specimen comes into rough focus.
- Use the fine adjustment knob to achieve sharp focus.
- Adjust the interpupillary distance by moving the eyepiece tubes until a single, clear field of view is observed.
- If necessary, adjust the diopter on one eyepiece to compensate for vision differences between your eyes.
- To increase magnification, rotate the revolving nosepiece to the next objective lens (e.g., 10X). The microscope is parfocal, meaning only minor fine adjustment should be needed.
- Repeat the fine adjustment for each higher magnification. When using the 100X oil immersion objective, apply a small drop of immersion oil directly onto the slide in the area of interest before rotating the 100X objective into the oil.

An image demonstrating the visual output at various magnification levels (40x, 100x, 400x, 1000x) achievable with the SWIFT microscope, alongside the objective lenses.
7. ડિજિટલ કેમેરા ઓપરેશન
After installing the camera and software (as per Section 5.3), launch the application on your computer.
- Ensure the microscope is powered on and a specimen is in focus through the eyepieces.
- The software should detect the connected 10MP camera and display a live feed from the microscope on your computer screen.
- Use the software interface to capture still images, record videos, and perform advanced functions such as stitching multiple images, Extended Depth of Field (EDF), and measurements.
- Refer to the camera software's help documentation for detailed instructions on its specific features and settings.
8. જાળવણી
8.1 સફાઈ
- Optical Components: Use a soft lens brush or compressed air to remove dust. For smudges, use lens cleaning solution and special lens paper or microfiber cloth. Wipe gently in a circular motion. Never use abrasive materials or harsh solvents.
- શરીર: માઇક્રોસ્કોપ બોડીને સોફ્ટ, ડી વડે સાફ કરોamp cloth. Avoid getting moisture into electrical components.
- નિમજ્જન તેલ: After using the 100X objective, always clean the objective lens and the slide immediately with lens paper moistened with lens cleaning solution to prevent oil from hardening.
8.2 સંગ્રહ
- When not in use, cover the microscope with the provided dust cover to protect it from dust and debris.
- Store the microscope in a cool, dry place, away from direct sunlight and extreme temperatures.
- Ensure the 4X objective is in position and the stage is lowered before storing.
9. મુશ્કેલીનિવારણ
| સમસ્યા | સંભવિત કારણ | ઉકેલ |
|---|---|---|
| રોશની નથી | Power cord disconnected; power switch off; LED burnt out. | Check power connections; turn on power switch; contact support for LED replacement. |
| Image blurry/out of focus | Incorrect focusing; objective lens dirty; slide upside down. | Use coarse and fine adjustment; clean objective lens; reorient slide. |
| Dark field of view | Iris diaphragm closed; condenser too low; light intensity too low. | Open iris diaphragm; adjust condenser height; increase light intensity. |
| Dust/spots in view | Dust on eyepiece, objective, or slide. | Clean eyepieces, objectives, and slide. Rotate eyepiece to determine source. |
| કેમેરા મળ્યો નથી | USB cable loose; driver not installed; camera not fully inserted. | Check USB connection; install/reinstall drivers; ensure camera is seated correctly. |
10. સ્પષ્ટીકરણો
- મોડલ: 350T (EF12021SF)
- માઇક્રોસ્કોપ પ્રકાર: Trinocular Compound Microscope
- વિસ્તૃતીકરણ: 40X-2500X (with WF10X and WF25X eyepieces and 4X, 10X, 40X, 100X objectives)
- આઈપીસ: WF10X, WF25X (interchangeable)
- ઉદ્દેશ્ય લેન્સ: Achromatic 4X, 10X, 40X (spring), 100X (spring, oil)
- વડા: Siedentopf, 30-degree inclined, 360-degree rotatable
- આંતરપ્યુપિલરી અંતર: એડજસ્ટેબલ
- ડાયોપ્ટર ગોઠવણ: On left eyepiece tube
- નોઝપીસ: ફરતું ચારગણું
- Stage: Double-layer mechanical stage with X-Y translational axis control
- ધ્યાન કેન્દ્રિત: Coaxial coarse and fine adjustment knobs
- કન્ડેન્સર: Abbe NA 1.25 with iris diaphragm and filter holder
- રોશની: LED, adjustable brightness
- ડીજીટલ કેમેરા: 10MP, USB connection, compatible with Mac OS X / Windows Vista, 7, 8, 10 (32 and 64 bit)
- પાવર સ્ત્રોત: કોર્ડેડ ઇલેક્ટ્રિક (240 વોલ્ટ)
- વસ્તુનું વજન: 12.91 પાઉન્ડ
- પેકેજ પરિમાણો: 23.46 x 13.39 x 9.61 ઇંચ
11. વોરંટી અને સપોર્ટ
For warranty information, technical support, or service inquiries, please refer to the warranty card included with your product or visit the official SWIFT webસાઇટ. વોરંટી દાવાઓ માટે ખરીદીના પુરાવા તરીકે તમારી ખરીદી રસીદ રાખો.
ઑનલાઇન સંસાધનો: For additional support, software updates, and FAQs, please visit the SWIFT Store on Amazon અથવા ઉત્પાદકનો અધિકારી webસાઇટ