
1. પરિચય
The Optex ORT8915-UHD is a state-of-the-art 4K DVB-T2 terrestrial digital television receiver. This device allows you to receive terrestrial digital television programs in stunning 4K quality, providing a high-quality visual and audio experience. It supports HEVC encoding for efficient broadcasting and offers various features to enhance your viewઅનુભવ.
2. પેકેજ સામગ્રી
ઇન્સ્ટોલેશન સાથે આગળ વધતા પહેલા, કૃપા કરીને ચકાસો કે બધી વસ્તુઓ પેકેજમાં હાજર છે:
- Optex ORT8915-UHD 4K DVB-T2 Receiver x1
- પાવર એડેપ્ટર x1
- 1.5V Batteries x2
- વપરાશકર્તા માર્ગદર્શિકા x1
- રિમોટ કંટ્રોલ x1
- HDMI કેબલ x1

Image 2.1: The Optex ORT8915-UHD receiver along with its included accessories: power adapter, batteries, user manual, remote control, and HDMI cable.
3. ઉત્પાદન ઓવરview
3.1 ફ્રન્ટ પેનલ
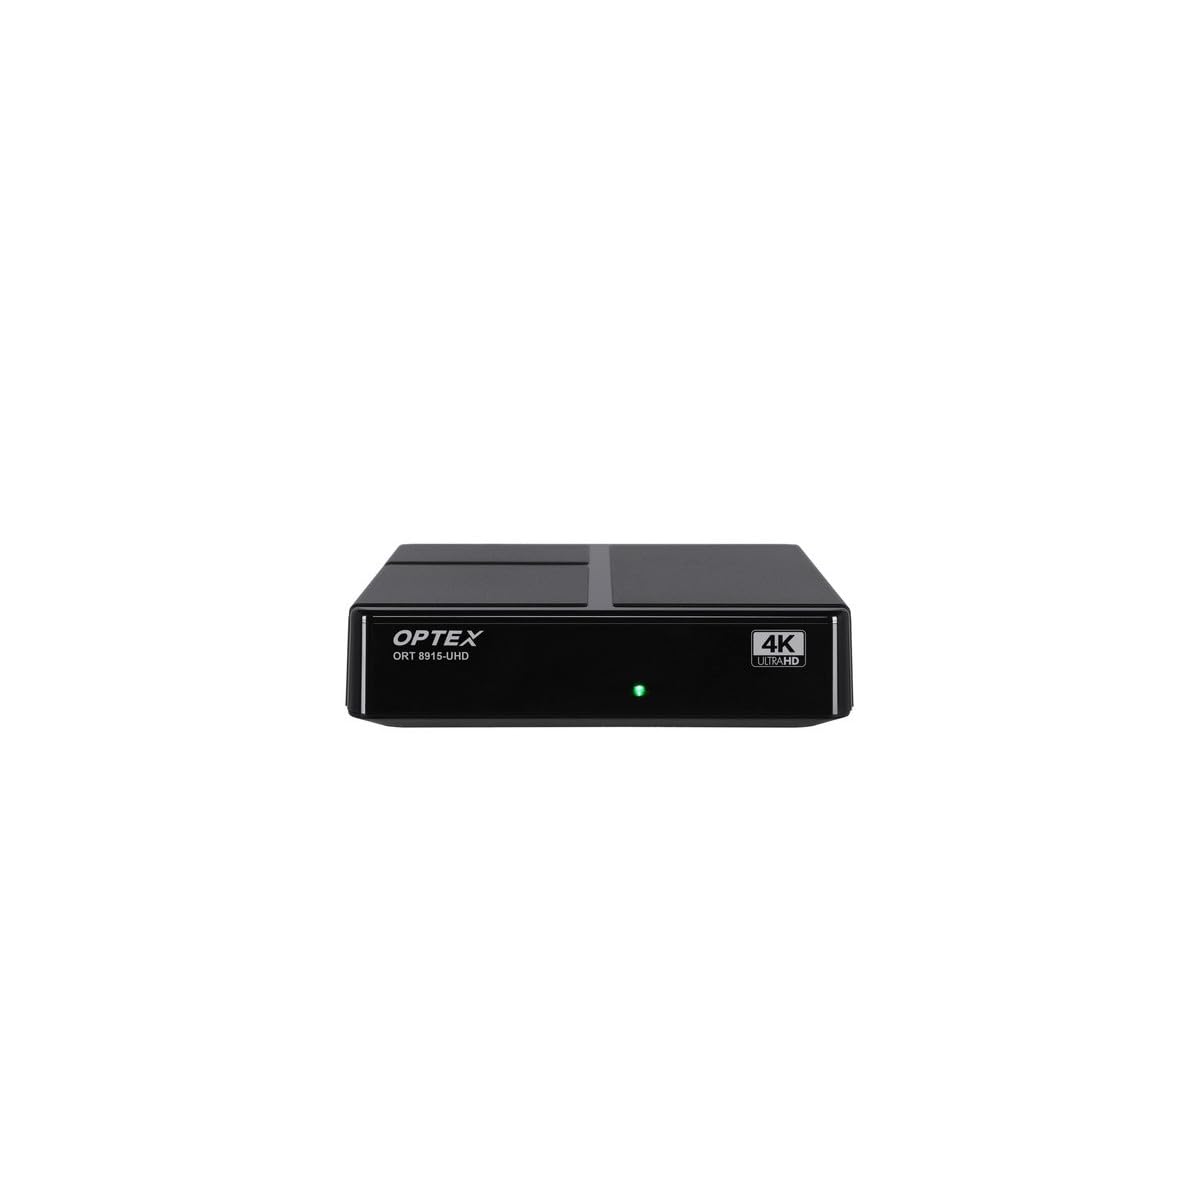
છબી 3.1: આગળ view of the Optex ORT8915-UHD receiver, showing the USB port and control buttons.
The front panel features a USB port for connecting external storage devices, along with basic control buttons for power, menu navigation, channel selection (CH+/CH-), and volume adjustment (V+/V-).
3.2 રીઅર પેનલ

છબી 3.2: પાછળ view of the Optex ORT8915-UHD receiver, displaying various input/output ports.
પાછળની પેનલમાં નીચેના જોડાણો શામેલ છે:
- ANT IN: For connecting your terrestrial antenna.
- OPTIC: ઓપ્ટિકલ ડિજિટલ ઓડિયો આઉટપુટ.
- એ.વી .: Analog video/audio output.
- એચડીએમઆઈ: High-Definition Multimedia Interface output for connecting to a TV.
- ડી.સી. માં: Power input for the adapter.
3.3 રીમોટ કંટ્રોલ

Image 3.3: The remote control for the Optex ORT8915-UHD receiver, featuring various function buttons.
The remote control provides full functionality for navigating menus, changing channels, adjusting volume, accessing program guides, and utilizing special features like Timeshift and USB recording.
4. સેટઅપ
- એન્ટેના કનેક્ટ કરો: Connect your terrestrial antenna cable to the "ANT IN" port on the rear panel of the receiver.
- ટીવી સાથે કનેક્ટ કરો:
- For High-Definition (HD) connection: Use the provided HDMI cable to connect the "HDMI" port on the receiver to an HDMI input on your television.
- For Standard-Definition (SD) connection: Use an AV cable (not included) to connect the "AV" ports on the receiver to the corresponding AV inputs on your television.
- પાવર કનેક્ટ કરો: Plug the power adapter into the "DC IN" port on the receiver, then plug the adapter into a power outlet.
- રિમોટમાં બેટરી દાખલ કરો: Open the battery compartment on the back of the remote control and insert the two 1.5V batteries, ensuring correct polarity.
- પાવર ચાલુ: Press the power button on the receiver or the remote control to turn on the device.
- ટીવી ઇનપુટ પસંદ કરો: On your television, select the correct HDMI or AV input source that corresponds to the connection you made in step 2.
5. ઓપરેટિંગ સૂચનાઓ
5.1 Initial Channel Scan
Upon first use or after a factory reset, the receiver will guide you through an initial setup process, including a channel scan. Follow the on-screen prompts to automatically search for available DVB-T2 channels in your region. Ensure your antenna is properly connected for optimal results.
5.2 મૂળભૂત કાર્યો
- ચેનલ નેવિગેશન: નો ઉપયોગ કરો CH+ અને CH- buttons on the remote or front panel to change channels.
- વોલ્યુમ નિયંત્રણ: નો ઉપયોગ કરો V+ અને V- વોલ્યુમ સમાયોજિત કરવા માટે બટનો.
- મેનુ એક્સેસ: દબાવો મેનુ સેટિંગ્સ અને સુવિધાઓ માટે મુખ્ય મેનુને ઍક્સેસ કરવા માટે બટન.
- પ્રોગ્રામ ગાઈડ (EPG): દબાવો ઇપીજી માટે બટન view the Electronic Program Guide, which displays broadcast schedules.
- ટેલિટેક્સ્ટ: Access teletext services by pressing the ટીટીએક્સ બટન
5.3 અદ્યતન સુવિધાઓ
- Timeshift (Live Control): Connect a USB storage device to the receiver. Press the ટાઈમશિફ્ટ button (often a pause/play icon) to pause live TV, allowing you to resume viewપછીથી.
- USB Recording (PVR): With a USB storage device connected, you can record live TV programs. Use the આરઈસી રેકોર્ડિંગ શરૂ કરવા માટે રિમોટ પરનું બટન.
- મલ્ટીમીડિયા પ્લેબેક: The USB port also supports playback of various multimedia files (audio, video, images) from a connected USB storage device. Navigate to the multimedia section in the main menu to access this feature.
- પેરેંટલ કંટ્રોલ: Set up parental control features through the menu to restrict access to certain channels or programs based on age ratings.
- મનપસંદ યાદીઓ: Create customized lists of your favorite channels for quick access.
6. જાળવણી
- સફાઈ: રીસીવરના બાહ્ય ભાગને સાફ કરવા માટે નરમ, સૂકા કપડાનો ઉપયોગ કરો. પ્રવાહી ક્લીનર્સ અથવા ઘર્ષક સામગ્રીનો ઉપયોગ કરશો નહીં.
- વેન્ટિલેશન: Ensure the receiver is placed in a well-ventilated area to prevent overheating. Do not block the ventilation holes.
- સૉફ્ટવેર અપડેટ્સ: Periodically check for software updates via USB to ensure optimal performance and access to new features. Refer to the main menu settings for update options.
7. મુશ્કેલીનિવારણ
| સમસ્યા | સંભવિત કારણ | ઉકેલ |
|---|---|---|
| કોઈ ચિત્ર કે અવાજ નથી | Incorrect TV input selected, loose cable connections, power issue. |
|
| કોઈ ચેનલ મળી નથી | Antenna not connected or positioned correctly, no channel scan performed. |
|
| રીમોટ કંટ્રોલ કામ કરતું નથી | Dead batteries, obstructed signal, remote not paired (if applicable). |
|
| નબળી ચિત્ર ગુણવત્તા | Weak antenna signal, incorrect resolution settings. |
|
8. સ્પષ્ટીકરણો
| લક્ષણ | વિગત |
|---|---|
| મોડલ | ORT8915-UHD |
| બ્રાન્ડ | Optex |
| ઉત્પાદન પ્રકાર | 4K DVB-T2 Terrestrial Receiver |
| વિડિઓ એન્કોડિંગ | HEVC |
| સુસંગત ઉપકરણો | Television, Game Console, Tablet, Personal Computer, Ampલાઇફાયર, સ્પીકર, સ્માર્ટફોન |
| કનેક્ટિવિટી ટેકનોલોજી | યુએસબી |
| ઓડિયો આઉટપુટ મોડ | સ્ટીરિયો |
| ઓડિયો આઉટપુટ પ્રકાર | HDMI, ઓપ્ટિકલ |
| સરાઉન્ડ સાઉન્ડ ચેનલ કન્ફિગરેશન | 5.1, 7.1, 9.2 |
| ખાસ લક્ષણ | મોશન ડીટેક્ટર |
| કુલ HDMI પોર્ટ્સ | 1 |
| પાવર વપરાશ (સ્ટેન્ડબાય) | <0.5 ડબ્લ્યુ |
| પરિમાણો (લંબાઈ x પહોળાઈ) | 126.0 mm x 125.0 mm |
| ઉત્પાદન વજન | 470 ગ્રામ |
9. વોરંટી અને સપોર્ટ
For warranty information and technical support, please refer to the official Optex website or contact your local retailer. Keep your purchase receipt as proof of purchase for any warranty claims.
Software updates are guaranteed until an unknown date, as per product information. For the latest information, please visit the manufacturer's support page.