
1. પરિચય
This instruction manual provides guidance for the installation, maintenance, and replacement of the sonecesiya Accessories Kit for Xiaomi Mi Robot Vacuum Mop 2 Lite and Mop 2 Pro models. Regular replacement of these components ensures optimal performance and extends the lifespan of your robot vacuum cleaner.
કીટમાં શામેલ છે:
- 2 મુખ્ય પીંછીઓ
- 4 HEPA ફિલ્ટર્સ
- 4 બાજુ પીંછીઓ
- ૨ મોપ કાપડ
These parts are designed for deep cleaning, effectively removing dust and dirt, and maintaining clean air by filtering out particles and allergens.
2. ઉત્પાદન ઓવરview

આકૃતિ 1: ઓવરview of the sonecesiya Accessories Kit components.
The kit provides essential replacement parts to maintain the cleaning efficiency of your Xiaomi Mi Robot Vacuum Mop 2 Lite or Mop 2 Pro. Each component plays a crucial role in the vacuum's operation.
Video 1: Visual demonstration of the accessories included in the kit and their features.
3. ઇન્સ્ટોલેશન સૂચનાઓ
Ensure your robot vacuum is powered off and unplugged before attempting any installation or replacement.
3.1 Main Brush Installation
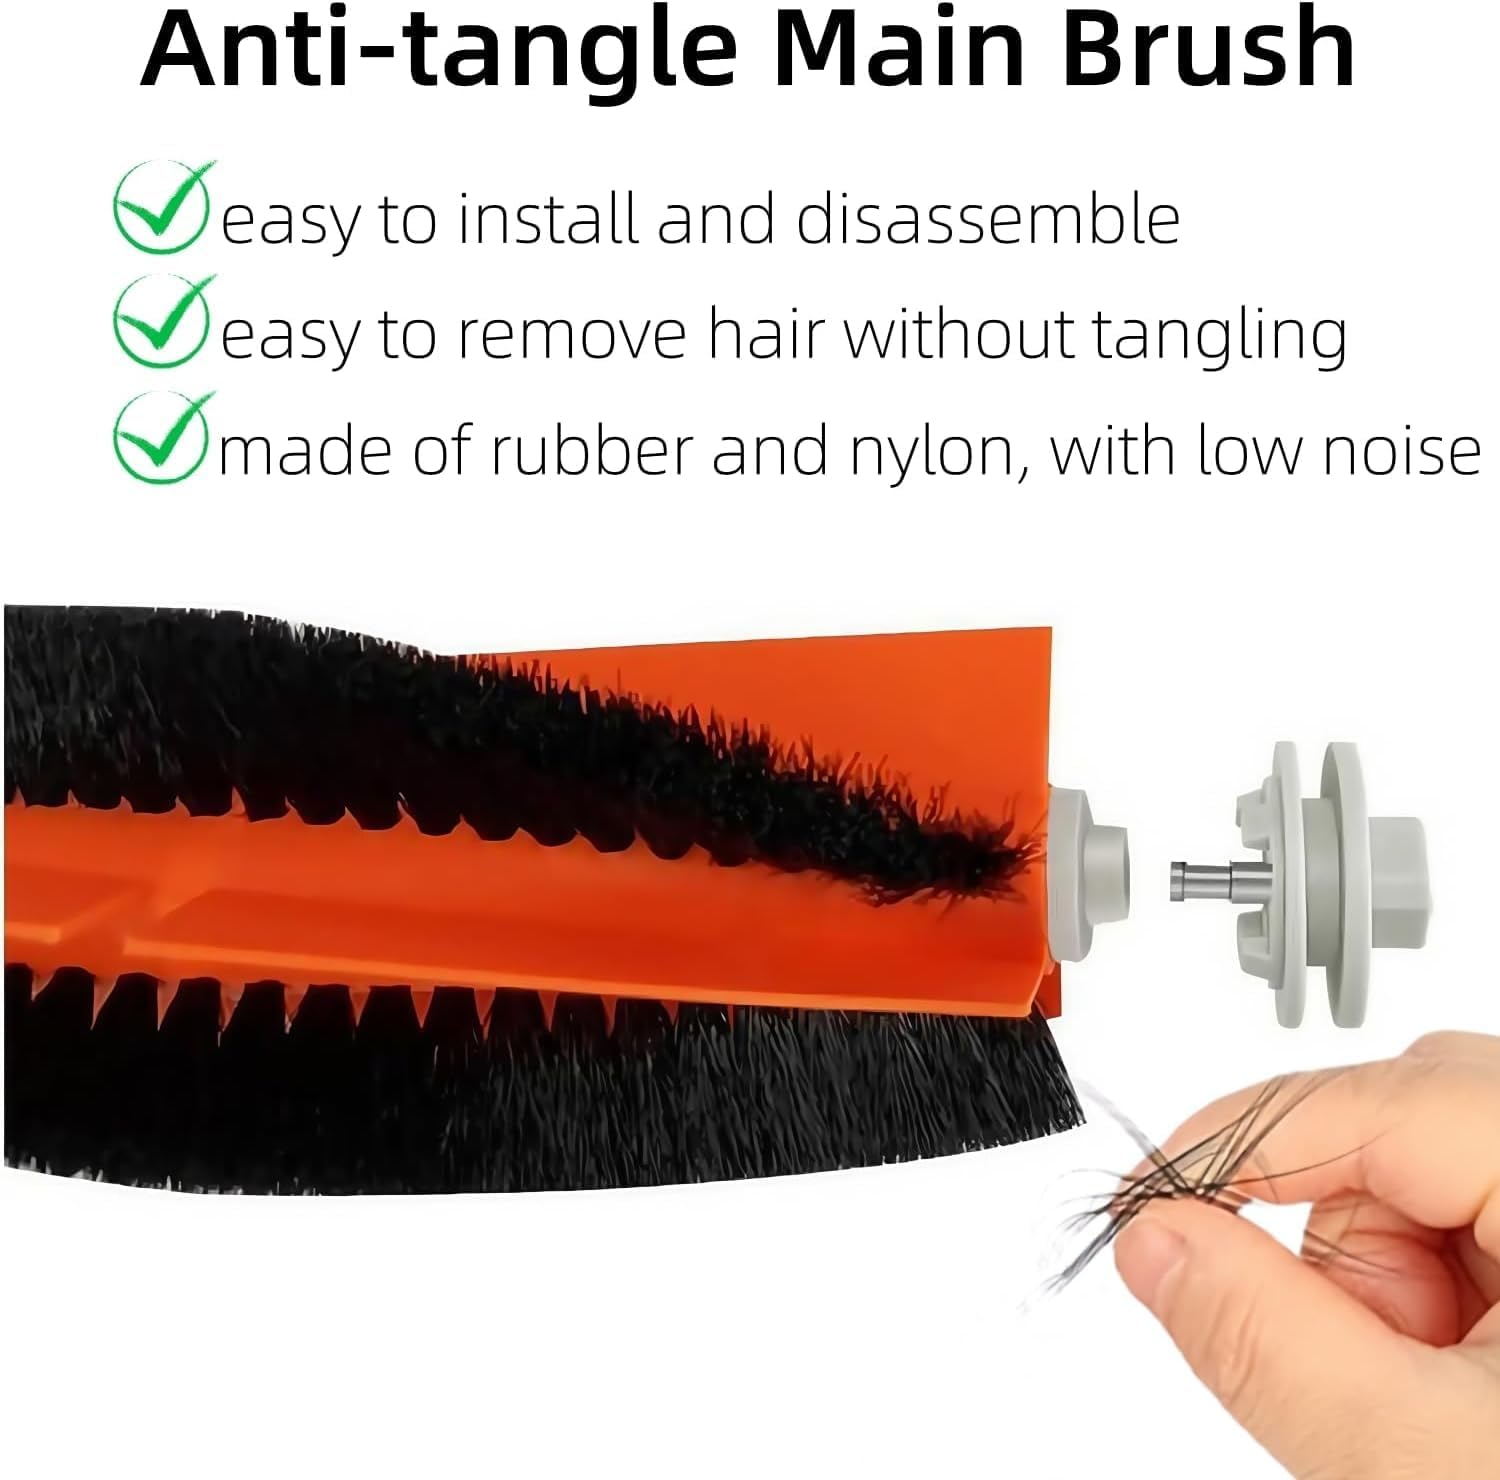
Figure 2: Anti-tangle main brush design for easy maintenance.
- રોબોટ વેક્યુમ ક્લીનર ઊંધું કરો.
- Locate the main brush cover, usually secured by latches.
- કવર ખોલો અને જૂનું મુખ્ય બ્રશ દૂર કરો.
- Clean any debris from the brush compartment.
- નવા મુખ્ય બ્રશને દાખલ કરો, ખાતરી કરો કે છેડા સ્લોટ સાથે સંરેખિત થાય છે.
- Close the main brush cover until it clicks into place.
૪.૨ સાઇડ બ્રશ ઇન્સ્ટોલેશન

Figure 3: Nylon side brush designed for effective corner cleaning.
- રોબોટ વેક્યુમ ક્લીનર ઊંધું કરો.
- Locate the side brush(es). These are typically held by a single screw.
- જૂના સાઇડ બ્રશને સ્ક્રૂ કાઢીને દૂર કરો.
- Align the new side brush with the screw hole and secure it with the screw.
Straightening Bent Side Brush Bristles:

Figure 4: Procedure for straightening side brush bristles.
If side brush bristles become bent during shipment or use, they can often be straightened:
- Gently place the bent bristles into hot water.
- Soak for a few minutes until the bristles regain their original shape.
- Remove from water and shake off excess moisture. Allow to air dry completely before re-installing.
3.3 HEPA Filter Installation

Figure 5: High-efficiency HEPA filter features.

Figure 6: Washable and reusable HEPA filters.
- તમારા રોબોટ વેક્યુમનો ડબ્બો ખોલો.
- ડસ્ટબિન દૂર કરો.
- Locate the filter assembly within the dustbin and remove the old filter.
- Insert the new HEPA filter into the designated slot. Ensure it is seated correctly to maintain proper filtration.
- Reinstall the dustbin into the robot vacuum.
3.4 Mop Cloth Installation
- Locate the mop cloth attachment on your robot vacuum.
- Remove the used mop cloth.
- Attach the new mop cloth, ensuring it is securely fastened (usually via Velcro or clips).
4. Maintenance and Replacement Schedule
Regular cleaning and timely replacement of accessories are crucial for maintaining the peak performance of your robot vacuum cleaner.
- મુખ્ય બ્રશ: Inspect weekly for tangled hair and debris. Clean as needed. Replace every 3-6 months depending on usage.
- સાઇડ બ્રશ: Inspect weekly for tangled hair and wear. Clean as needed. Replace every 3-6 months depending on usage.
- HEPA ફિલ્ટર્સ: Tap clean after each use to remove dust. Washable filters can be rinsed with water (ensure completely dry before re-installation). Replace every 3-6 months depending on usage.
- મોપ કાપડ: Wash after each use. Replace every 3-6 months depending on usage.
નોંધ: The replacement frequency may vary based on your usage habits and home environment (e.g., presence of pets, carpeted areas).
5. મુશ્કેલીનિવારણ
This section addresses common issues related to accessory performance.
- Reduced Cleaning Efficiency: If your vacuum's cleaning performance decreases, check if the main brush or side brushes are worn, tangled, or if the HEPA filter is clogged. Replace components as necessary.
- અસામાન્ય અવાજો: Inspect the main brush for foreign objects or excessive hair tangles that might be causing friction or obstruction.
- Side Brush Malfunction: If a side brush is not rotating correctly, ensure it is securely installed and free from obstructions. If bristles are bent, refer to Section 3.2 for straightening instructions.
- ખરાબ મોપિંગ કામગીરી: Ensure the mop cloth is clean and properly attached.
If issues persist after replacing and cleaning the accessories, consult your robot vacuum's main instruction manual or contact the vacuum manufacturer's support.
6. સ્પષ્ટીકરણો
| ઘટક | સામગ્રી | Quantity (in kit) |
|---|---|---|
| મુખ્ય બ્રશ | Acrylonitrile Butadiene Styrene, Nylon | 2 |
| એચ.પી.એ. ફિલ્ટર | બિન-વણાયેલા ફેબ્રિક | 4 |
| સાઇડ બ્રશ | નાયલોન | 4 |
| મોપ ક્લોથ | માઇક્રોફાઇબર | 4 |
પેકેજ પરિમાણો: 7.8 x 1.9 x 1.9 ઇંચ
આઇટમ મોડલ નંબર: YESMG027

Figure 7: Approximate dimensions of individual kit components.
7. વોરંટી અને સપોર્ટ
sonecesiya is committed to providing high-quality products. For any questions regarding the installation, performance, or compatibility of this accessories kit, please contact sonecesiya customer support through the retailer's platform where the purchase was made.
For more information about sonecesiya products, visit the official sonecesiya Store.