
1. ઉત્પાદન ઓવરview
The QRD Junior E5 Wireless Controller is a compact and versatile gaming controller designed for a wide range of platforms, including Nintendo Switch, Switch Lite, Switch OLED, PC (Windows), Mac, iOS, and Android devices. Its ergonomic design and advanced features provide an enhanced gaming experience.

છબી 1.1: આગળ view of two QRD Junior E5 Wireless Controllers.

Image 1.2: Back and front views of the QRD Junior E5 Wireless Controller, highlighting its design.
2. પેકેજ સામગ્રી
- QRD Junior E5 Wireless Controller (2 units for this package)
- USB-C ચાર્જિંગ કેબલ
- વપરાશકર્તા માર્ગદર્શિકા (આ દસ્તાવેજ)
3. સેટઅપ અને કનેક્શન
3.1 કંટ્રોલરને ચાર્જ કરવું
Before first use, fully charge the controller. Connect the provided USB-C cable to the controller's charging port and the other end to a USB power source (e.g., console, PC, or USB wall adapter). The indicator lights will show charging status and turn off when fully charged.
૪.૪ નિન્ટેન્ડો સ્વિચ સાથે કનેક્ટ થઈ રહ્યું છે
- On the Nintendo Switch HOME Menu, select નિયંત્રકો > પકડ/ઓર્ડર બદલો.
- દબાવો અને પકડી રાખો હોમ બટન on the QRD Junior E5 controller for 3-5 seconds until the indicator lights start flashing rapidly.
- Once connected, the corresponding player indicator light(s) on the controller will remain solid.
3.3 Connecting to PC (Windows/Mac)
The controller supports both wireless Bluetooth and wired USB-C connections for PC and Mac.
3.3.1 Wireless Bluetooth Connection
- Ensure your PC/Mac has Bluetooth enabled.
- On your PC/Mac, go to Bluetooth settings and search for new devices.
- દબાવો અને પકડી રાખો હોમ બટન on the QRD Junior E5 controller for 3-5 seconds until the indicator lights start flashing rapidly.
- Select "QRD Controller" or similar from the list of available devices to pair.
- The controller supports એક્સ-ઇનપુટ for PC games.
3.3.2 Wired USB-C Connection
Connect the controller to your PC/Mac using the provided USB-C cable. The controller will be automatically recognized, and no driver installation is required.
3.4 Connecting to iOS/Android Devices
- Enable Bluetooth on your iOS/Android device.
- દબાવો અને પકડી રાખો હોમ બટન on the QRD Junior E5 controller for 3-5 seconds until the indicator lights start flashing rapidly.
- માટે શોધો "QRD Controller" or similar in your device's Bluetooth settings and pair.
4. સંચાલન સૂચનાઓ અને સુવિધાઓ
4.1 મૂળભૂત નિયંત્રણો
The QRD Junior E5 controller features standard button layouts including A/B/X/Y buttons, D-pad, Left/Right joysticks, L/R/ZL/ZR triggers, Home button, and +/- buttons.
4.2 ટર્બો કાર્ય
The TURBO function allows for continuous or automatic rapid firing of buttons. This feature can be customized for different games and play styles.
- To set TURBO: Press and hold the desired action button (e.g., A) and then press the ટર્બો બટન once. The button will now continuously fire when held.
- To set Auto-TURBO: Press and hold the desired action button and then press the ટર્બો બટન a second time. The button will automatically fire without being held.
- To clear TURBO: Press and hold the desired action button and then press the ટર્બો બટન ત્રીજી વખત.
- Adjusting TURBO Speed: દબાવો ટર્બો બટન અને Up/Down D-pad simultaneously to cycle through speeds: 8 times/sec, 15 times/sec, 25 times/sec.

Image 4.1: Illustration of the Turbo function for rapid actions in games.
4.3 6-Axis Gyro Motion Sensor
The controller is equipped with an advanced 6-axis gyro motion sensor, allowing for precise viewpoint and tilt operations in compatible games. Tilt, turn, and twist the controller to interact with game environments dynamically.

Image 4.2: Demonstrating the 6-Axis Gyro motion sensor capability.
4.4 Adjustable Vibration Feedback
Dual vibration motors provide immersive haptic feedback. The vibration intensity can be adjusted to suit personal preference and game requirements.
- Vibration modes: 0% (no vibration), 30% (weak), 70% (medium), and 100% (strong).
- To adjust vibration: Press the વાઇબ્રેશન બટન (if present, or a combination like TURBO + Left/Right joystick click) to cycle through intensity levels. Refer to the quick start guide for specific button combinations.

Image 4.3: Visual representation of the adjustable vibration feature.
5. જાળવણી અને સંભાળ
- કંટ્રોલરને સૂકું રાખો અને અતિશય તાપમાનથી દૂર રાખો.
- કંટ્રોલરને નરમ, સૂકા કપડાથી સાફ કરો. કઠોર રસાયણો અથવા ઘર્ષક સામગ્રીનો ઉપયોગ કરશો નહીં.
- કંટ્રોલરને પડતું મૂકવાનું કે તેને જોરદાર અસર કરવાનું ટાળો.
- નુકસાન અટકાવવા માટે ઉપયોગમાં ન હોય ત્યારે કંટ્રોલરને સુરક્ષિત જગ્યાએ રાખો.
6. મુશ્કેલીનિવારણ
૫.૩ કંટ્રોલર કનેક્ટ થઈ રહ્યું નથી
- ખાતરી કરો કે કંટ્રોલર સંપૂર્ણપણે ચાર્જ થયેલ છે.
- Verify Bluetooth is enabled on your device (Switch, PC, Mac, iOS, Android).
- Make sure the controller is in pairing mode (indicator lights flashing rapidly).
- Try restarting both the controller and the device you are trying to connect to.
- If connecting to Switch, ensure you are on the "Change Grip/Order" screen.
- For PC/Mac, try a wired USB-C connection to rule out Bluetooth issues.
૬.૨ ઇનપુટ લેગ અથવા પ્રતિભાવવિહીન બટનો
- Ensure the controller is within range of the connected device.
- અન્ય વાયરલેસ ઉપકરણોની દખલગીરી માટે તપાસો.
- Confirm the controller is fully charged. Low battery can affect performance.
- Restart the controller and the game/device.
6.3 Vibration Not Working or Incorrect
- Check the vibration settings on the controller (refer to section 4.4) to ensure it's not set to 0%.
- ખાતરી કરો કે તમે જે રમત રમી રહ્યા છો તે વાઇબ્રેશન ફીડબેકને સપોર્ટ કરે છે.
- Ensure the controller's firmware is up to date (if applicable, check the manufacturer's webસાઇટ).
7. સ્પષ્ટીકરણો
| મોડલ | Junior E5 |
| બ્રાન્ડ | QRD |
| કનેક્ટિવિટી | Wireless Bluetooth, Wired USB-C |
| સુસંગતતા | Nintendo Switch, Switch Lite, Switch OLED, PC (Windows), Mac, iOS, Android |
| ઇનપુટ મોડ્સ | X-input (PC), Switch-input (Nintendo Switch) |
| ખાસ લક્ષણો | 6-Axis Gyro Motion Sensor, Adjustable Vibration, TURBO Function |
| પરિમાણો (અંદાજે) | 5 x 3.31 x 2.13 ઇંચ (12.7 x 8.4 x 5.4 સેમી) |
| વજન (અંદાજે) | 1.06 પાઉન્ડ (0.48 કિગ્રા) |
| બેટરી | 2 Nonstandard Battery batteries required (internal, rechargeable) |

Image 7.1: Physical dimensions of the QRD Junior E5 Wireless Controller.
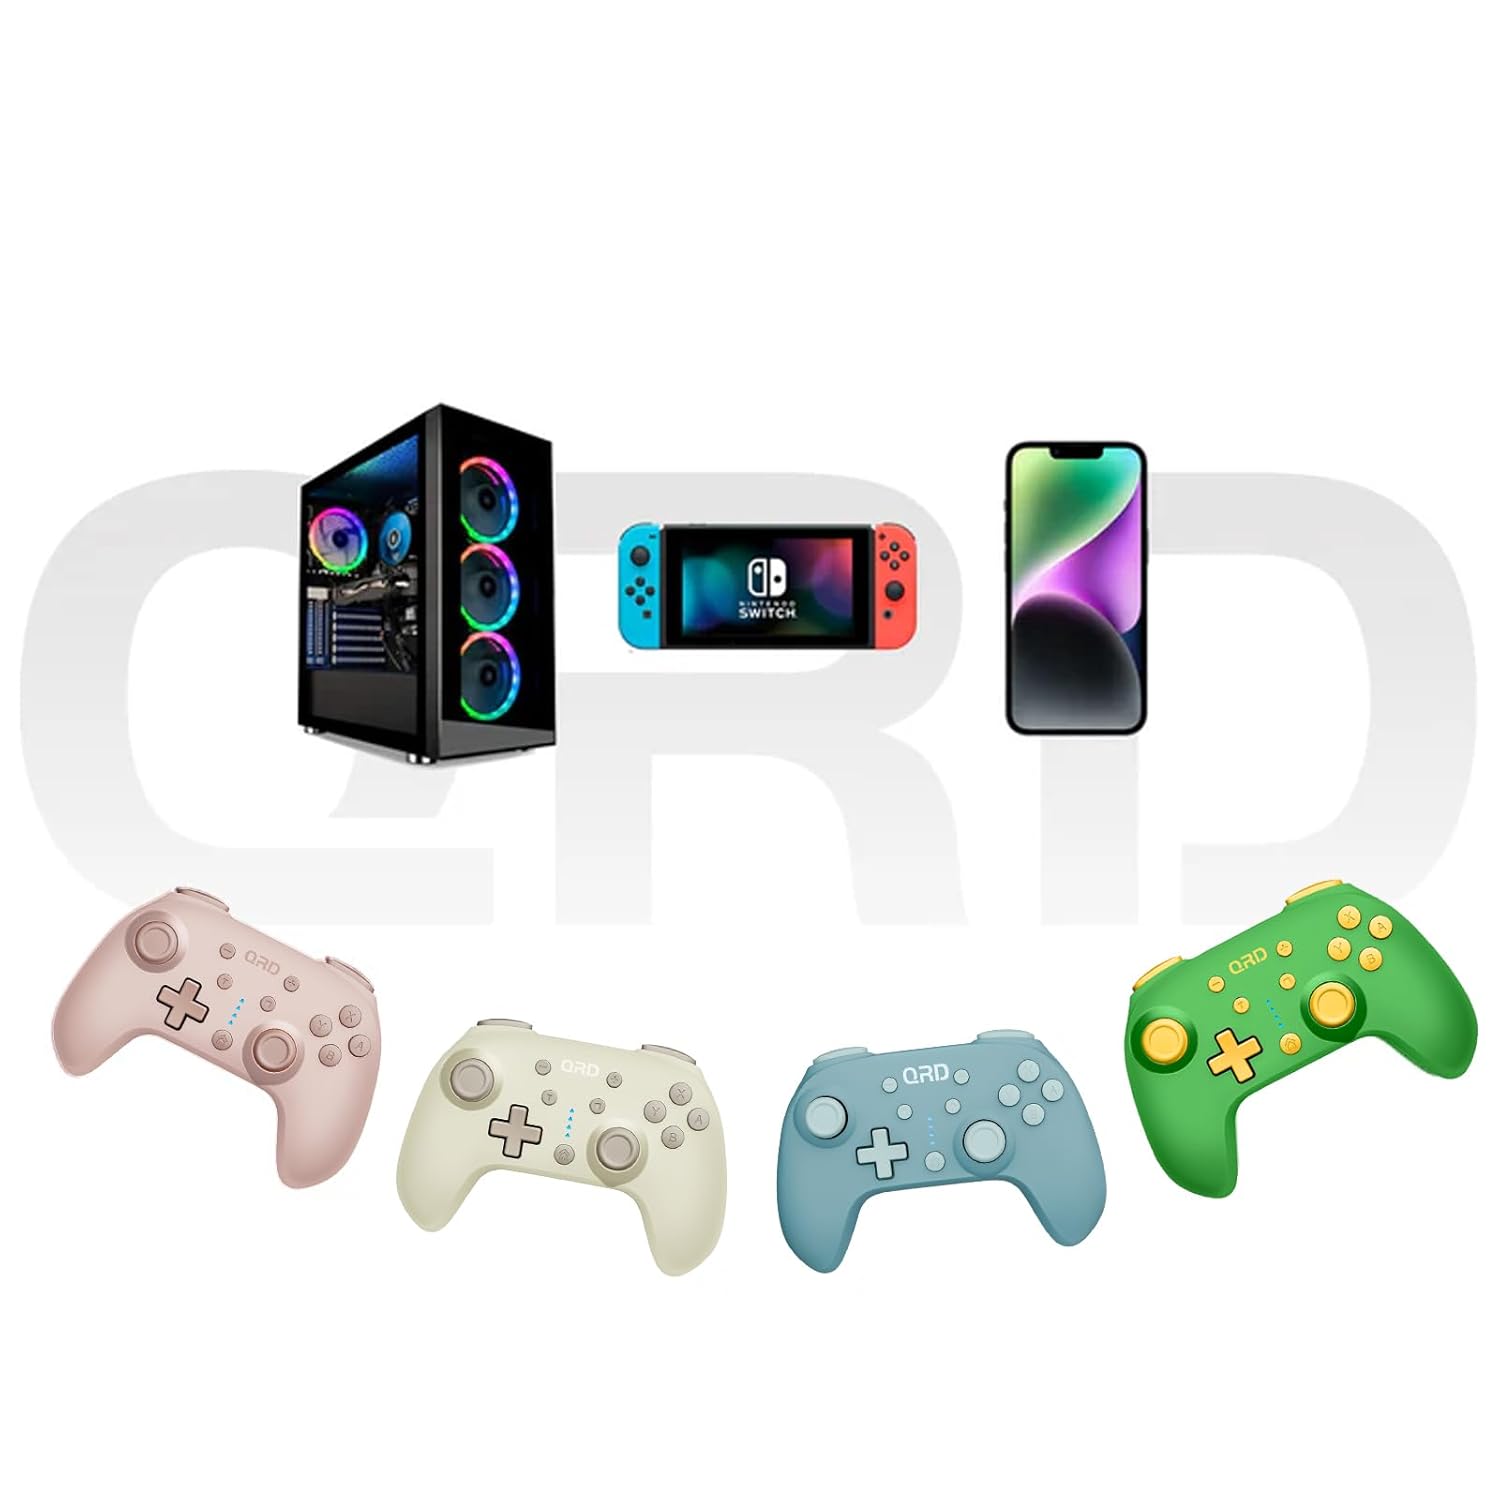
Image 7.2: Multi-platform compatibility of the QRD Junior E5 Wireless Controller.
8. વોરંટી અને સપોર્ટ
QRD products are designed for reliability and performance. For warranty information, technical support, or service inquiries, please refer to the contact information provided with your purchase or visit the official QRD webસાઇટ. વોરંટી દાવાઓ માટે કૃપા કરીને તમારી ખરીદીનો પુરાવો રાખો.
વધારાના સમર્થન માટે, તમે મુલાકાત લઈ શકો છો QRD Store on Amazon.