
1. પરિચય
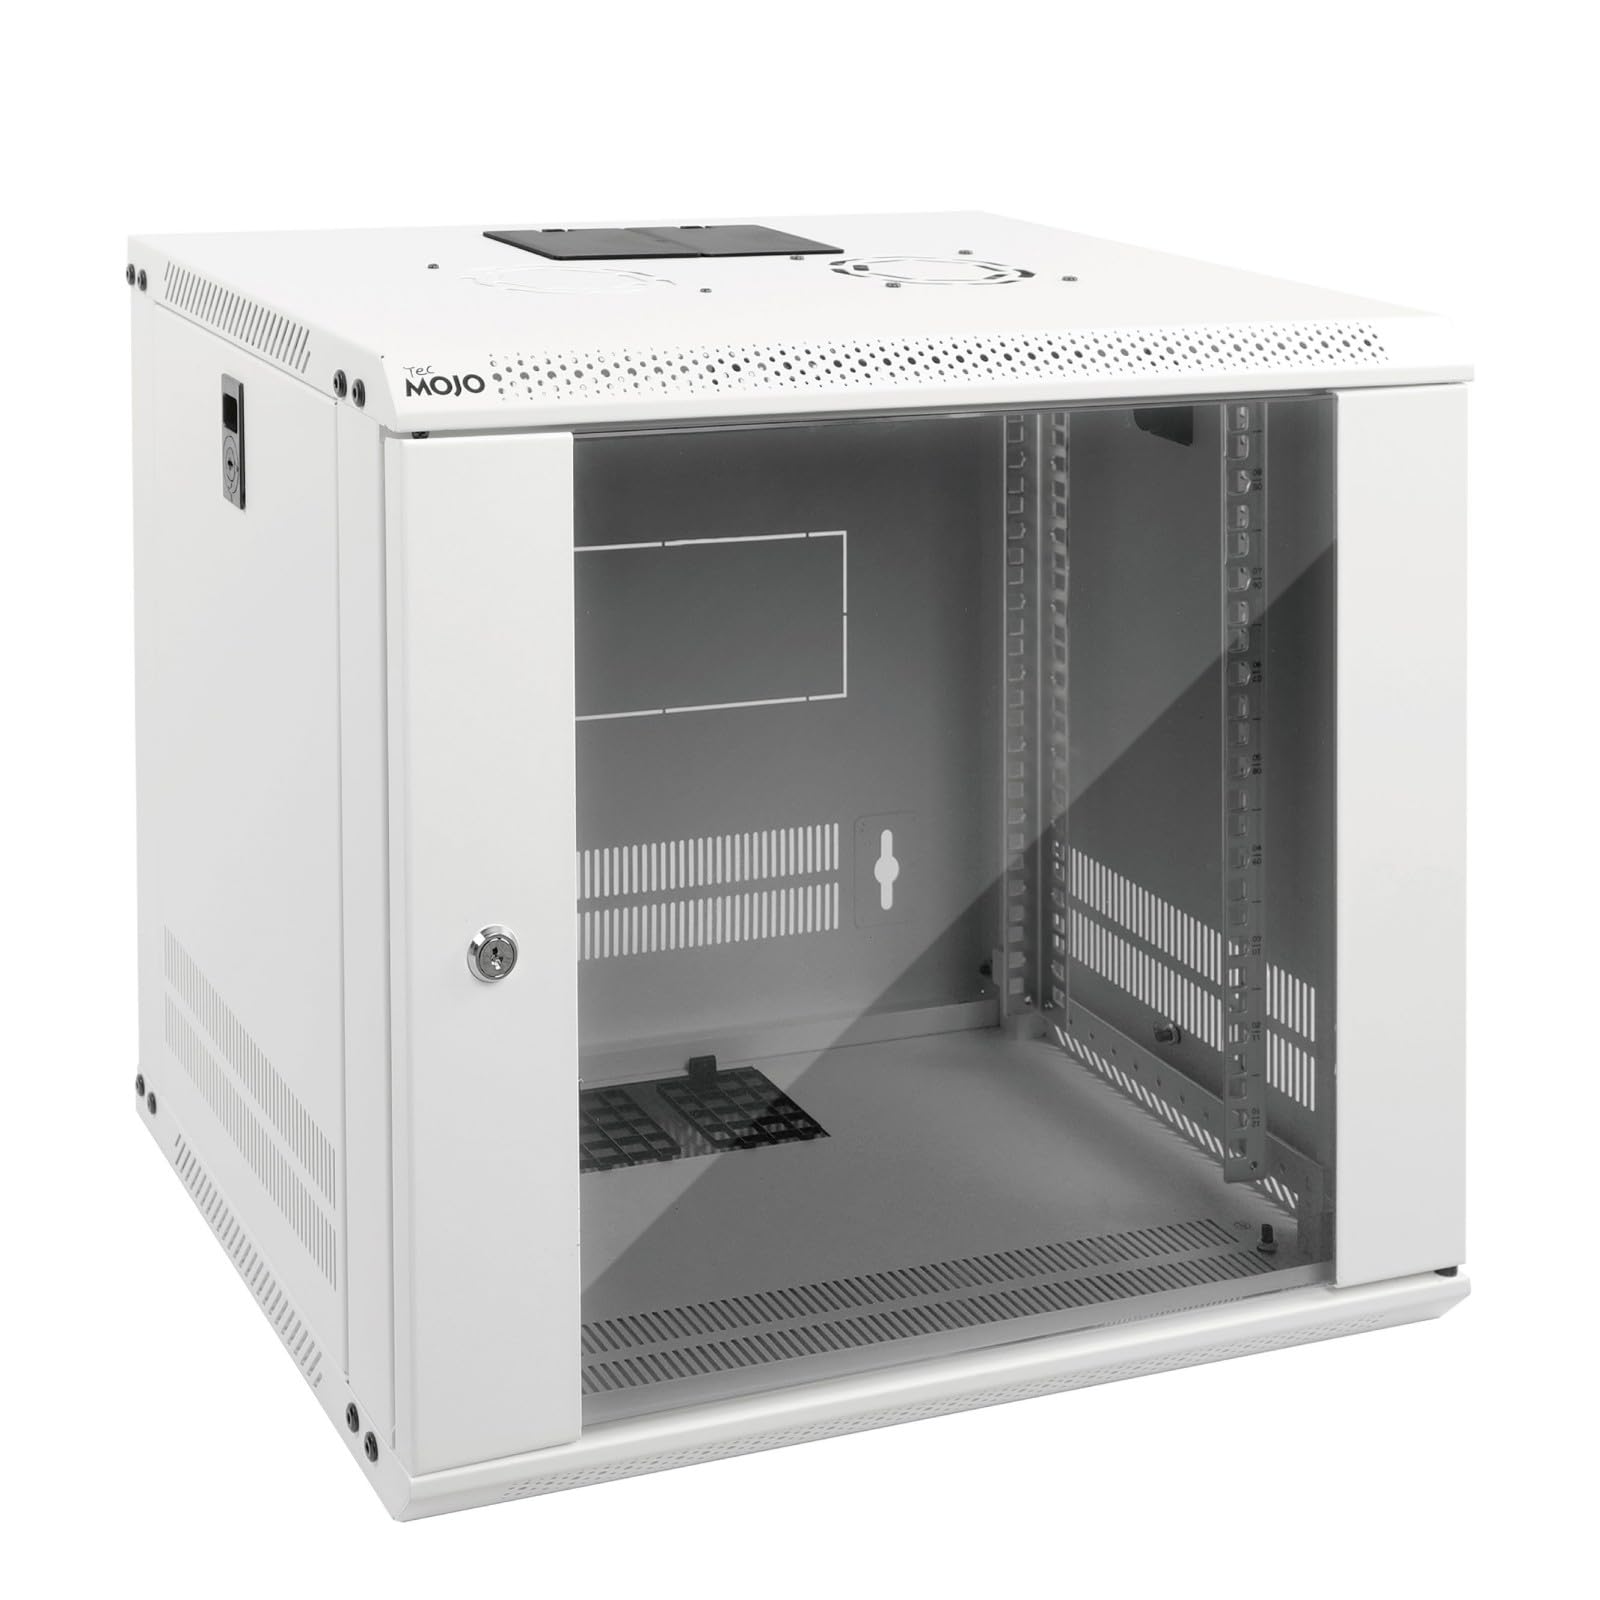
This instruction manual provides comprehensive guidance for the assembly, installation, and operation of your Tecmojo 9U Wall Mount Server Cabinet. This cabinet is designed to securely house 19-inch IT and A/V equipment, offering efficient space utilization and protection for your critical network infrastructure. Please read this manual thoroughly before proceeding with assembly or installation to ensure proper setup and safe operation.
2. સલામતી માહિતી
Observe the following safety precautions during assembly, installation, and use of the server cabinet:
- વજન ક્ષમતા: The cabinet is designed to hold up to 110 lbs (50 kg). Do not exceed this weight limit. Distribute equipment weight evenly.
- ભારે વસ્તુ: The cabinet itself is heavy. Exercise caution and use appropriate lifting techniques or assistance during handling and installation to prevent injury.
- વોલ માઉન્ટિંગ: Wall mounting requires drilling and securing to structural studs or appropriate wall anchors. Professional installation is recommended to ensure stability and safety. Ensure the wall can support the combined weight of the cabinet and its contents.
- ઇલેક્ટ્રિકલ સલામતી: When installing electrical equipment, ensure all power is disconnected. Follow all local electrical codes and safety guidelines.
- તીક્ષ્ણ ધાર: Be aware of potential sharp edges during assembly. Wear protective gloves if necessary.
- વેન્ટિલેશન: Ensure adequate airflow around the cabinet and within the installed equipment to prevent overheating.
3. પેકેજ સામગ્રી
Verify that all components listed below are present in your package. If any parts are missing or damaged, please contact Tecmojo customer support.

આકૃતિ 3.1: Included Hardware and Manual
This image displays the various components included in the package, such as the instruction manual, two keys for the lockable door, ten M6 screws, ten M6 cage nuts, and four M5*45 expansion screw bolts for mounting.
- Tecmojo 9U Wall Mount Server Cabinet (Flat-packed components)
- સૂચના માર્ગદર્શિકા
- Mounting Hole Drilling Template
- M6 સ્ક્રૂ x 10
- M6 કેજ નટ x 10
- કી x 2
- M5*45 Expansion Screw Bolt x 4
4. સ્પષ્ટીકરણો
આકૃતિ 4.1: Product Dimensions and Key Features
This image provides a detailed diagram of the server cabinet's dimensions and highlights its main features, including rack space, weight capacity, material, and compliance standards.
| લક્ષણ | વિગત |
|---|---|
| રેક એકમો | 9U |
| ઉત્પાદનના પરિમાણો (D x W x H) | ૧૫.૬"ઊંડાઈ x ૩૧.૭"ઊંડાઈ x ૭૧"ઊંડાઈ (૩૯.૭ઊંડાઈ x ૮૦.૪ઊંડાઈ x ૧૮૦.૩ઊંડાઈ સેમી) |
| વજન ક્ષમતા | 110 lbs (50 કિગ્રા) |
| સામગ્રી | High-quality Cold Rolled Steel / Alloy Steel |
| દરવાજાનો પ્રકાર | Standard Glass Door, Lockable, Reversible |
| સાઇડ પેનલ્સ | Lockable, Removable |
| માઉન્ટિંગ પ્રકાર | વોલ માઉન્ટ |
| અનુપાલન | EIA/ECA-310-E, PCI & HIPPA |
| વસ્તુનું વજન | 15.6 કિલોગ્રામ |
5. એસેમ્બલી સૂચનાઓ
The Tecmojo 9U Wall Mount Server Cabinet is shipped flat-packed and requires assembly. Follow these steps carefully:
- અનપૅક ઘટકો: Carefully remove all parts from the packaging. Lay them out on a clean, flat, and stable surface. Refer to the "Package Contents" section to ensure all parts are present.
- ફ્રેમ એસેમ્બલ કરો: Begin by connecting the top and bottom panels to the side frames using the provided screws. Ensure all connections are secure but do not fully tighten until the entire frame is assembled.
- Install Mounting Rails: Insert the adjustable mounting rails into the cabinet frame. These rails feature numbered U positions and square holes for easy equipment mounting. Adjust their depth as needed for your equipment.
- Attach Front Door: The front glass door can be installed to open from either the left or right side. Choose your preferred orientation and attach the door hinges to the cabinet frame. Secure the door with the provided hardware.
- સાઇડ પેનલ્સ ઇન્સ્ટોલ કરો: Attach the removable side panels to the cabinet. These panels are lockable for added security.
- અંતિમ કડકીકરણ: Once all components are in place and aligned, fully tighten all screws to ensure the cabinet is rigid and stable.
- ગ્રાઉન્ડિંગ: Locate the grounding stud on the cabinet. Attach a ground wire (not included) to prevent electrical hazards, following local electrical codes.

આકૃતિ 5.1: Cabinet Structure and Weight Capacity
This image illustrates the robust construction of the cabinet, highlighting its heavy-duty cold rolled steel structure and its ability to support up to 110 lbs (50 kg). The grounding stud for electrical safety is also shown.
For a visual guide, an online assembly video is available. Refer to the product packaging or Tecmojo's official website for the link.
૩. ઇન્સ્ટોલેશન (વોલ માઉન્ટિંગ)
Proper wall mounting is crucial for the safety and stability of your server cabinet. Ensure the wall material can support the combined weight of the cabinet and its equipment.
- સ્થાન પસંદ કરો: Choose a suitable location on a sturdy wall, preferably where wall studs are present. The mounting holes on the cabinet are spaced 16 inches apart to accommodate standard stud placement.
- Use Drilling Template: Utilize the included mounting hole drilling template to mark the precise locations for drilling on the wall. Ensure the template is level before marking.
- પાયલોટ છિદ્રો ડ્રિલ કરો: Drill pilot holes at the marked locations using an appropriate drill bit size for the M5*45 expansion screw bolts or other suitable wall anchors (if studs are not available or preferred).
- માઉન્ટિંગ હાર્ડવેર ઇન્સ્ટોલ કરો: Insert the M5*45 expansion screw bolts into the drilled holes. Do not fully tighten them yet, leave enough space for the cabinet to hang.
- માઉન્ટ કેબિનેટ: Carefully lift the assembled cabinet and align the mounting holes on the back of the cabinet with the installed bolts. Hang the cabinet onto the bolts.
- Secure Cabinet: Once the cabinet is securely hung, tighten all mounting bolts to firmly secure the cabinet to the wall. Double-check for any wobbling or instability.

આકૃતિ 6.1: Wall Mounting Template and Features
This image illustrates the use of the auxiliary drilling template for precise wall mounting, highlighting the 16-inch spacing of mounting holes and the presence of removable side panels and knock-off holes for cable routing.
7. ઓપરેટિંગ સૂચનાઓ
This section details how to effectively use the features of your Tecmojo 9U Wall Mount Server Cabinet.
7.1. Access and Security

આકૃતિ 7.1: Security and Access Features
This image highlights the cabinet's security features, including lockable door and side panels, and practical elements like removable panels for cable management and side ventilation for airflow.
- Lockable Door and Side Panels: Use the provided keys to lock the front glass door and side panels. This prevents unauthorized access to your critical network equipment.
- Reversible Front Door: The front door's hinges allow it to be installed to open from either the left or right side, providing flexibility for your installation environment.
7.2. Equipment Configuration
- Adjustable Mounting Rails: The internal mounting rails can be adjusted forward or backward to accommodate equipment of varying depths. Loosen the securing screws, slide the rails to the desired depth, and re-tighten.
- Numbered U Positions: The rails feature numbered U positions, making it easy to consistently mount and organize your 19-inch rack-mountable equipment.
- Square Holes: The square holes on the mounting rails are designed for use with cage nuts and rack screws (M6 cage nuts and screws are included) to secure your equipment.
7.3. Cable Management and Ventilation
- Top and Bottom Punch-out Panels: The cabinet includes removable top and bottom panels (also referred to as knock-off holes) for convenient cable entry and exit, allowing for organized cable routing.
- Side Ventilation Holes: Integrated ventilation holes on the side panels promote airflow, helping to dissipate heat and maintain optimal operating temperatures for your equipment.
8. જાળવણી
Regular maintenance ensures the longevity and optimal performance of your server cabinet.
- સફાઈ: Periodically wipe down the exterior surfaces with a soft, damp કાપડ. ઘર્ષક ક્લીનર્સ અથવા સોલવન્ટ્સ ટાળો જે ફિનિશને નુકસાન પહોંચાડી શકે છે.
- ફાસ્ટનર્સનું નિરીક્ષણ કરો: Annually, check all screws and bolts, especially those used for wall mounting and frame assembly, to ensure they remain tight. Re-tighten if necessary.
- દરવાજા અને તાળાની પદ્ધતિ: Ensure the door hinges operate smoothly and the lock mechanism functions correctly. Lubricate with a small amount of silicone spray if movement becomes stiff.
- વેન્ટિલેશન: Keep the side ventilation holes clear of obstructions to ensure proper airflow.
9. મુશ્કેલીનિવારણ
આ વિભાગ તમને આવી શકે તેવી સામાન્ય સમસ્યાઓનું નિરાકરણ લાવે છે.
- Cabinet is not stable after assembly:
- ખાતરી કરો કે બધા સ્ક્રૂ અને બોલ્ટ સંપૂર્ણપણે કડક છે.
- Verify that the cabinet is mounted securely to the wall, if applicable.
- Equipment does not fit on mounting rails:
- Check if the equipment is 19-inch rack-mountable.
- Adjust the depth of the mounting rails to accommodate your equipment.
- Ensure you are using M6 cage nuts and screws for mounting.
- Door or side panel does not close/lock properly:
- કોઈપણ અવરોધો માટે તપાસો.
- Ensure the cabinet frame is square and not twisted.
- Verify that the hinges are properly aligned and secured.
10. અનુપાલન
The Tecmojo 9U Wall Mount Server Cabinet is compliant with the following standards:
- EIA/ECA-310-E: This standard defines the requirements for cabinets, racks, panels, and associated equipment.
- PCI & HIPPA: The cabinet's design contributes to physical security measures required for compliance with Payment Card Industry (PCI) data security standards and Health Insurance Portability and Accountability Act (HIPAA) regulations, by providing a lockable enclosure for sensitive equipment.
11. વોરંટી અને સપોર્ટ
For warranty information, technical support, or to inquire about replacement parts, please contact Tecmojo customer service. Refer to the contact information provided on the product packaging or visit the official Tecmojo webસાઇટ