પરિચય
The Daytech Wireless Door Chime System, Model DS17, provides a reliable alert solution for various applications. This system is designed to notify you when a door or window is opened, enhancing security and convenience for homes, businesses, and caregiving environments. It is particularly useful for monitoring entry points, deterring potential intruders, and assisting with the supervision of children or elderly individuals.

Image: The Daytech door chime system in a business setting, alerting staff to customer entry.

Image: Illustrations showing the door chime system used for child safety, intruder deterrence, and monitoring elderly individuals.
પેકેજ સામગ્રી
Your Daytech Wireless Door Chime System (Model DS17) package includes:
- 2 x Plug-in Receivers
- 4 x Door/Window Sensors (each consisting of a main unit and a magnetic strip)
- Mounting hardware (adhesive tape)
- વપરાશકર્તા માર્ગદર્શિકા (આ દસ્તાવેજ)
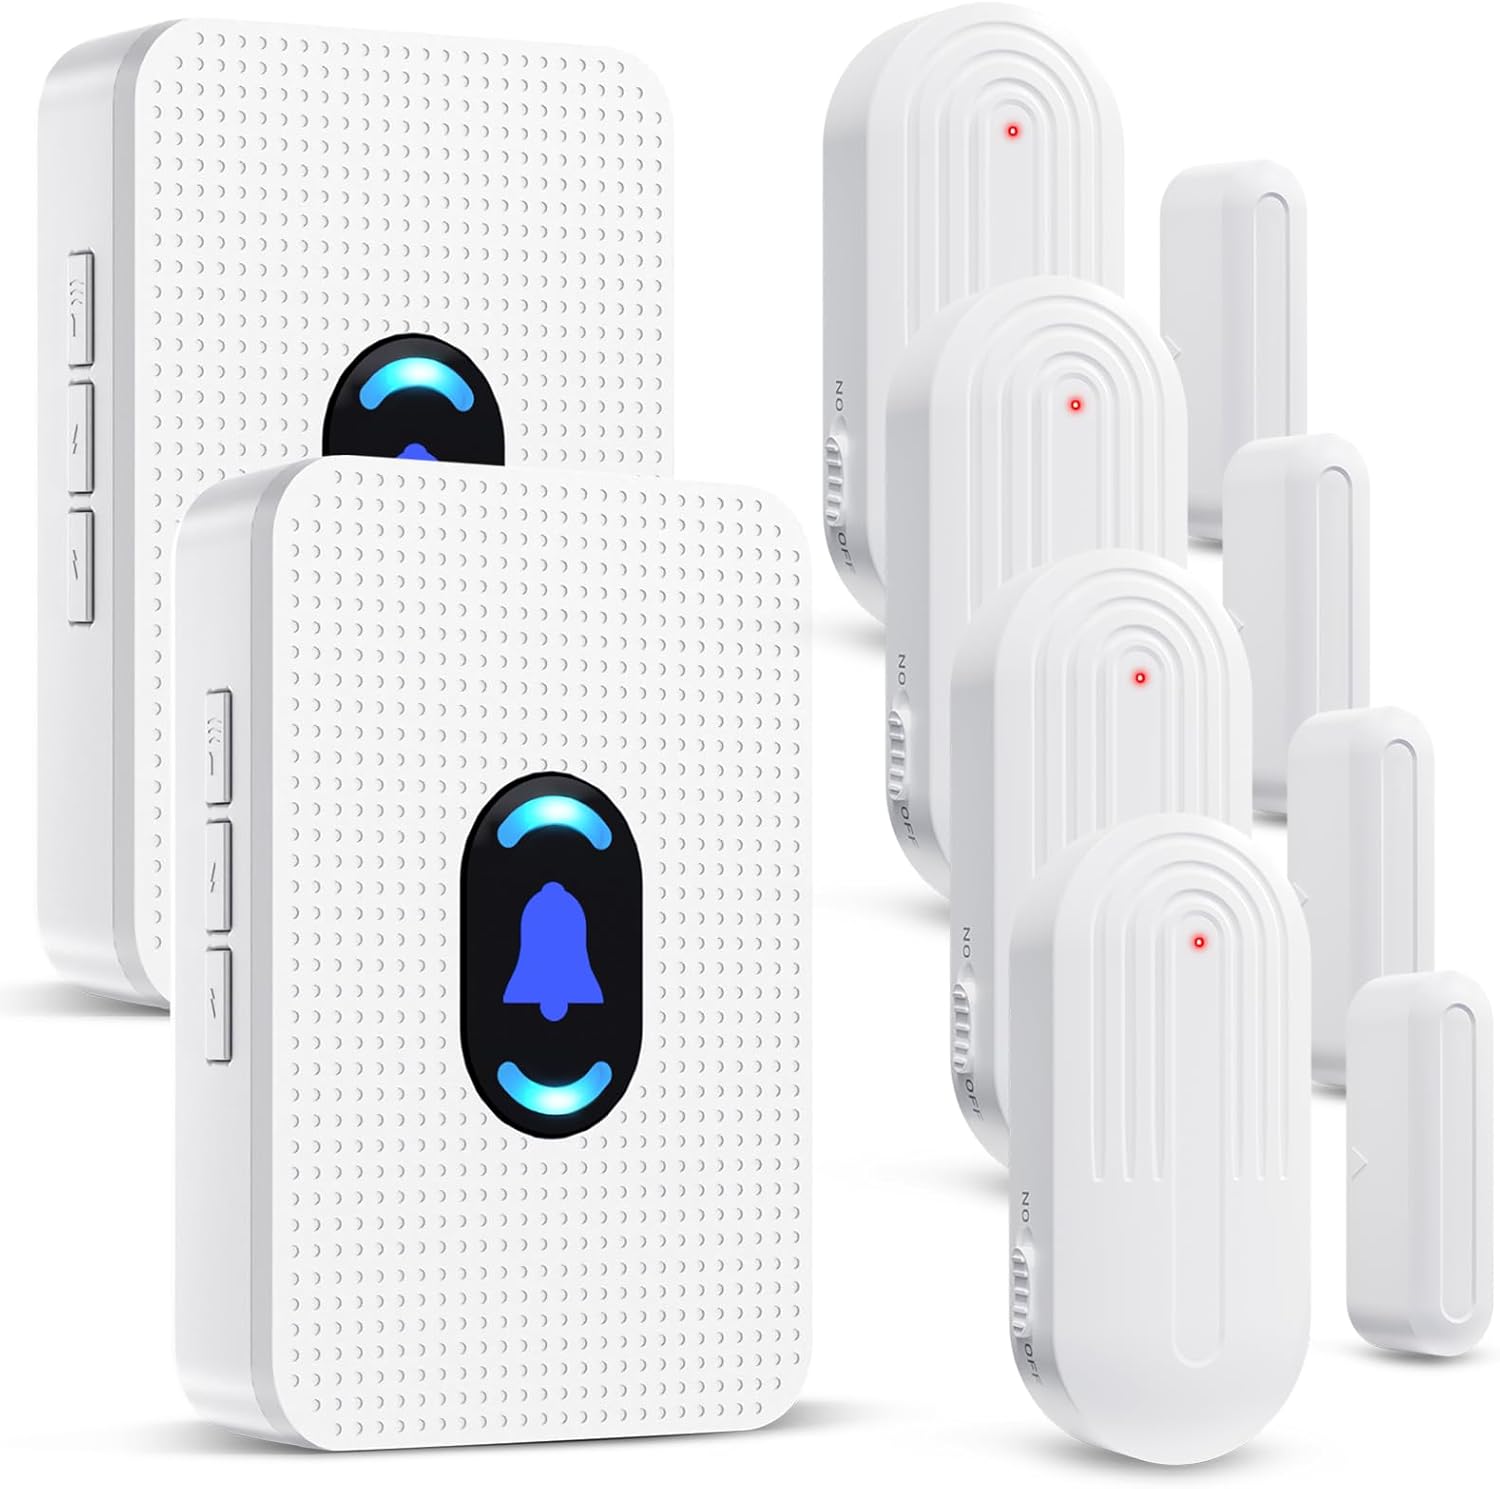
Image: A visual representation of the two plug-in receivers and four door/window sensors included in the package.
ઉત્પાદન ઓવરview
મુખ્ય લક્ષણો:
- વિસ્તૃત શ્રેણી: Operates wirelessly up to 800 feet (240 meters) in open areas.
- કસ્ટમાઇઝ કરી શકાય તેવી ચેતવણીઓ: Choose from 20 distinct ringtones.
- એડજસ્ટેબલ વોલ્યુમ: 5 volume levels, ranging from 0 dB (mute) to 110 dB.
- વિઝ્યુઅલ સૂચક: Receiver features an LED indicator and a small night light for visual alerts.
- Durable Sensors: IP44 waterproof rating for outdoor use and enhanced durability.
- Long-lasting Sensor Battery: Sensors are designed for up to 100,000 uses, providing 3-5 years of battery life.
- વિસ્તૃત સિસ્ટમ: Supports multiple receivers and sensors for comprehensive coverage.

Image: A diagram illustrating the 800ft wireless signal transmission range of the system within a multi-story building.

Image: A close-up of the door sensor, highlighting its IP44 waterproof rating and operational temperature range of -4°F (-20°C) to 140°F (60°C).

Image: An infographic detailing the upgraded door sensor battery, offering up to 100,000 uses and a 3-5 year lifespan, alongside its IP44 waterproof rating.
સેટઅપ સૂચનાઓ
The sensors and receivers are pre-paired at the factory for your convenience. Follow these steps for installation and initial setup:
1. Install the Receivers:
- Plug each receiver into a standard electrical outlet in your desired location. Ensure the outlet is within the 800ft operating range of your sensors.

Image: The plug-in receiver connected to a wall outlet, illustrating its adjustable volume levels and multiple ringtone options.
2. Mount the Sensors:
- Identify the desired location for each sensor (e.g., door, window, drawer, cabinet).
- Clean the surface thoroughly where the sensor will be mounted.
- Peel off the protective film from the double-sided adhesive tape on the back of both the main sensor unit and the magnetic strip.
- Attach the main sensor unit to the fixed frame of the door/window and the magnetic strip to the moving part (door/window itself).
- Ensure the main sensor unit and the magnetic strip are aligned and placed within 0.6 inches (1.5 cm) of each other when the door/window is closed. The red indicator light on the sensor should face the magnetic strip.

છબી: વિઝ્યુઅલ એક્સamples demonstrating suitable installation locations for the sensors, including doors, windows, drawers, and cabinets.

Image: A step-by-step visual guide on how to mount the door sensor using the provided adhesive tape.
3. Pairing Additional Sensors or Changing Chimes (if needed):
If you need to pair new sensors or change the chime for a specific sensor, follow these steps:
- Select Melody: Press the "Forward" or "Backward" button on the receiver to cycle through the 20 available melodies until you find your preferred one.
- જોડી મોડ દાખલ કરો: Long press the Volume Control button on the receiver for 5-7 seconds until the LED blinks rapidly and you hear a "ding" sound. The receiver is now in pairing mode.
- સેન્સર સક્રિય કરો: Quickly separate the two parts of the door sensor (main unit and magnetic strip) to activate the transmitter and send a signal to the receiver.
- પુષ્ટિ: Upon successful pairing, the receiver will sound the selected melody, indicating that the sensor is now linked.

Image: A visual guide detailing the four steps to pair a sensor with a receiver and select a specific melody.
ઓપરેટિંગ સૂચનાઓ
1. વોલ્યુમ સમાયોજિત કરવું:
The receiver has dedicated volume buttons (usually indicated by '+' and '-' symbols or similar icons on the side). Press these buttons to cycle through the 5 available volume levels, including a mute option (0 dB) up to 110 dB.
2. Changing Ringtones:
Use the "Forward" and "Backward" buttons on the receiver to select from the 20 different melodies. Each press will advance or go back one melody.
3. Receiving Alerts:
When a paired door/window sensor detects an opening (i.e., the main unit and magnetic strip separate), it will send a signal to the receiver. The receiver will then play the selected chime and its LED indicator will flash, providing both audible and visual alerts.
જાળવણી
1. Sensor Battery Replacement:
The door sensors are powered by a CR2450 lithium battery. When the sensor's performance degrades or it stops transmitting signals, the battery may need replacement.
- Carefully open the sensor casing using a small screwdriver.
- જૂની CR2450 બેટરી દૂર કરો.
- સાચી ધ્રુવીયતા સુનિશ્ચિત કરીને નવી CR2450 બેટરી દાખલ કરો.
- સેન્સર બંધ કરો casing સુરક્ષિત રીતે.
Image: A visual guide demonstrating how to open the sensor, replace the CR2450 battery, and reassemble.
2. સફાઈ:
Wipe the receivers and sensors with a soft, dry cloth. Avoid using abrasive cleaners or solvents, as these can damage the product's finish or internal components.
મુશ્કેલીનિવારણ
- No Alert from Receiver:
- Ensure the receiver is properly plugged into a working electrical outlet.
- Check if the receiver's volume is set to an audible level (not mute).
- Verify that the sensor's battery is not depleted. Replace if necessary (CR2450).
- Confirm the sensor and receiver are within the effective operating range (up to 800ft). Obstacles like thick walls or metal structures can reduce range.
- Re-pair the sensor with the receiver following the "Pairing Additional Sensors" steps.
- સેન્સર ટ્રિગર નથી થઈ રહ્યું:
- Ensure the main sensor unit and magnetic strip are installed correctly and are less than 0.6 inches (1.5 cm) apart when the door/window is closed.
- સેન્સર બેટરી તપાસો.
- Test the sensor by manually separating the two parts to see if the red indicator light flashes.
- ખોટા એલાર્મ્સ:
- Ensure the sensor components are securely mounted and do not shift.
- Verify the gap between the sensor and magnetic strip is appropriate when closed.
વિશિષ્ટતાઓ
| બ્રાન્ડ | ડેટેક |
| મોડલ નંબર | DS17 |
| યુપીસી | 794304663084 |
| પાવર સ્ત્રોત (રીસીવર) | AC Plug-in (260 Volts - Note: Please verify local voltage સુસંગતતા) |
| પાવર સ્ત્રોત (સેન્સર) | CR2450 બેટરી (શામેલ) |
| નિયંત્રણ પદ્ધતિ | ટચ બટનો |
| અવાજ સ્તર | 0-110 Decibels |
| માઉન્ટિંગ પ્રકાર | Adhesive Door Mount |
| મહત્તમ વાયરલેસ શ્રેણી | 800 ફૂટ (240 મીટર) |
| સેન્સર ટેકનોલોજી | સંપર્ક સેન્સર |
| Sensor Waterproof Rating | IP44 |
| ઓપરેટિંગ તાપમાન | -4°F થી 140°F (-20°C થી 60°C) |
| વસ્તુનું વજન | 12 ounces (total package) |
| પેકેજ પરિમાણો | 4.8 x 4.13 x 3.5 ઇંચ |
વોરંટી અને આધાર
For warranty information or technical support, please contact Daytech customer service. Refer to the product packaging or the official Daytech webસૌથી અદ્યતન સંપર્ક વિગતો માટે સાઇટ.
Webસાઇટ: www.daytech.com


