1. પરિચય
This manual provides detailed instructions for the assembly, operation, and maintenance of your VEVOR Polycarbonate Greenhouse (Model AM037, 8 x 14 Ft). Designed for outdoor garden and backyard use, this greenhouse features a thickened aluminum frame, polycarbonate panels with UV protection, two vent windows, and a hinged door. Proper installation and care will ensure optimal performance and longevity for your plants.
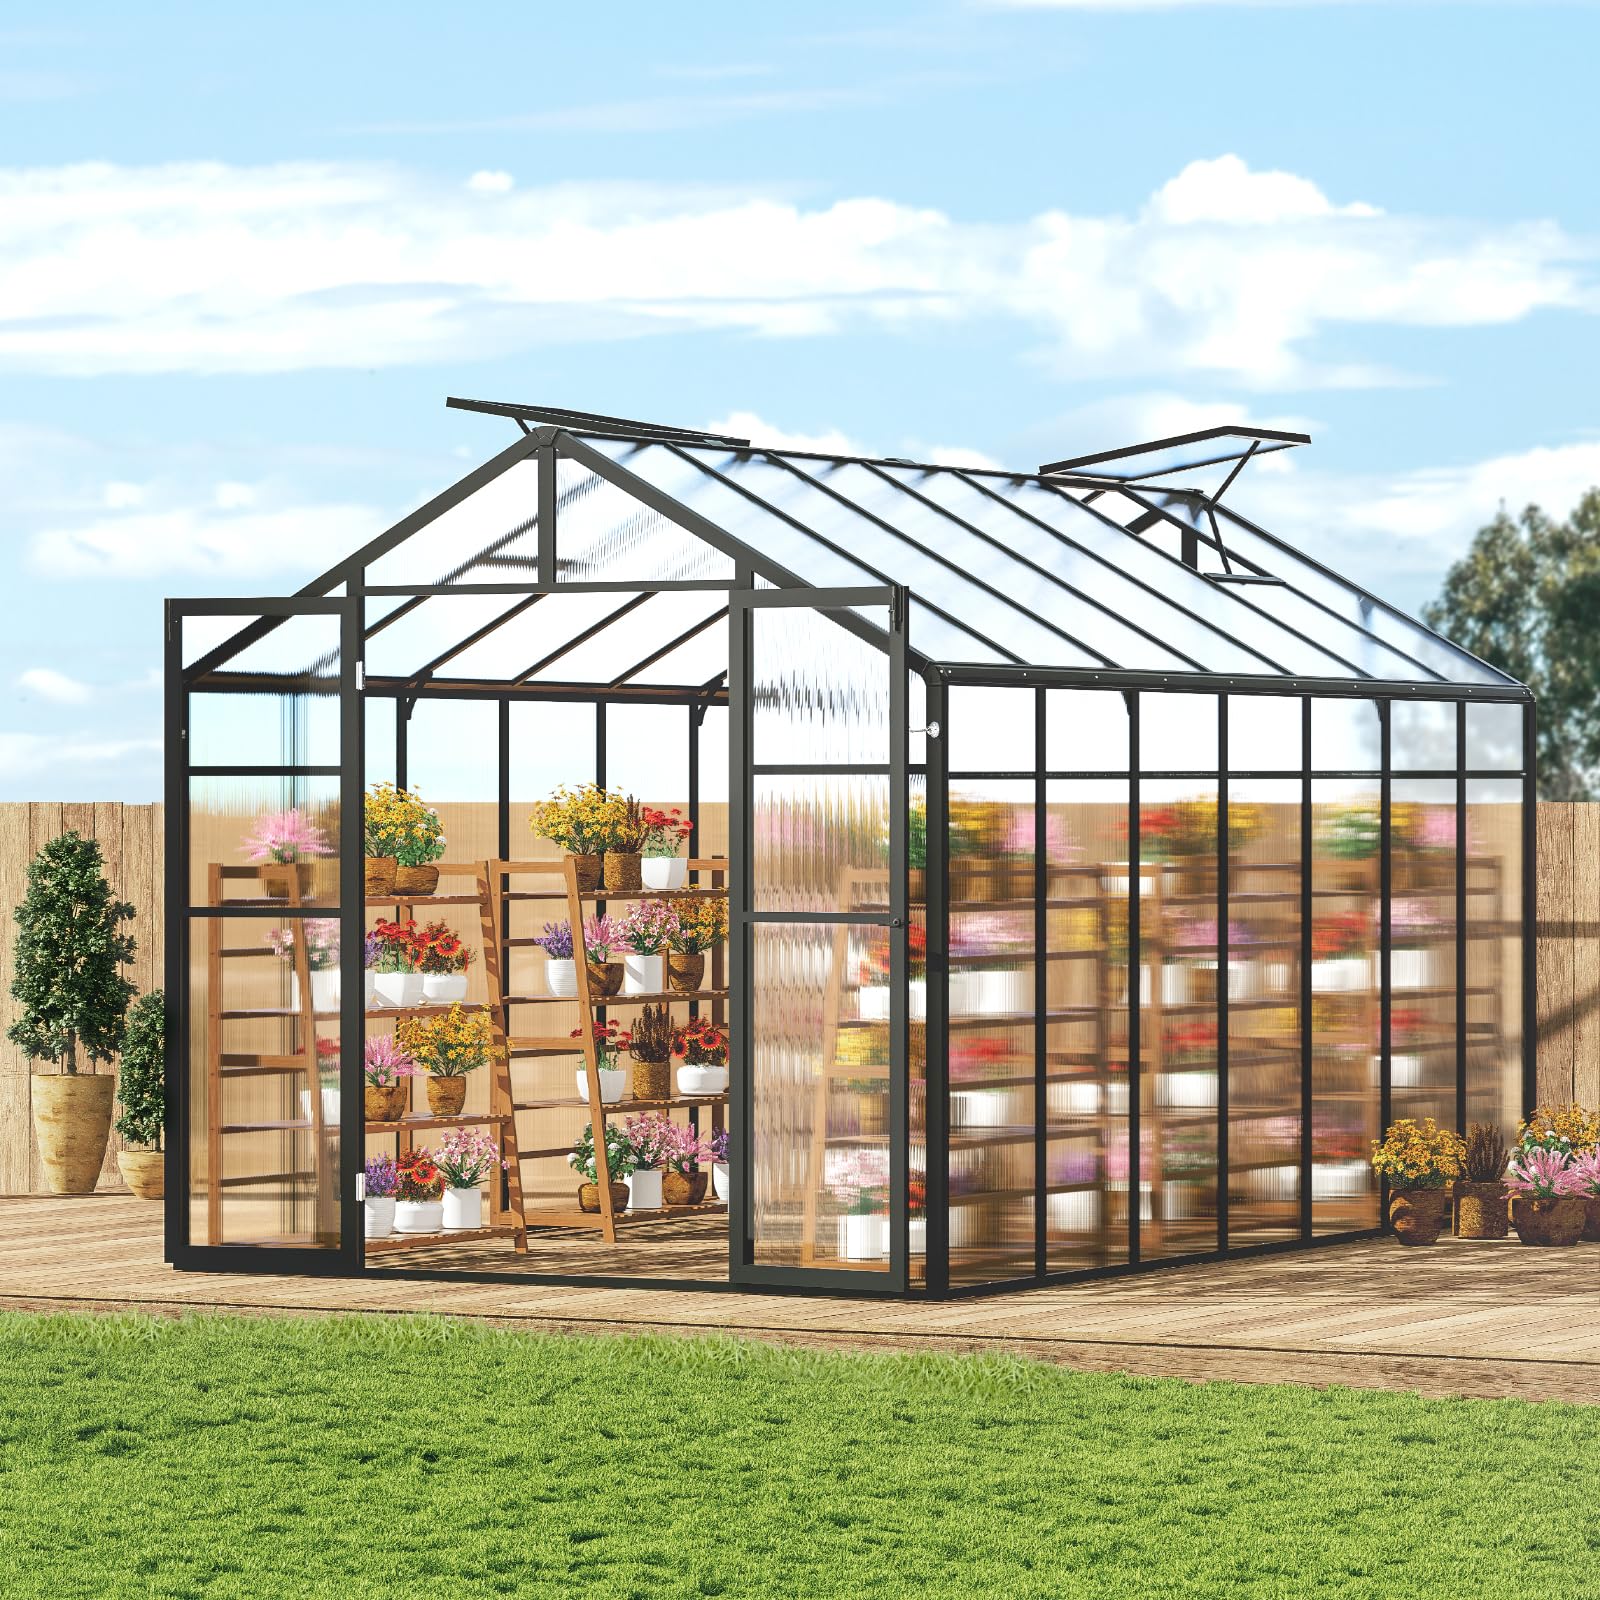
Figure 1: VEVOR Polycarbonate Greenhouse (8 x 14 Ft) exterior view.
2. સલામતી માહિતી
- Always ensure doors and windows are closed in windy or snowy weather to prevent the greenhouse from tipping over due to strong winds.
- Properly anchor the greenhouse to the ground to prevent damage or injury. Consider using reinforcement stakes for grass/soil or expansion screws for concrete.
- Polycarbonate panels provide UV protection and impact resistance against hail and winds under 5 levels.
- Exercise caution during assembly. It is recommended to have at least two adults for safe and efficient installation.
- Do not overtighten screws during assembly, as this may restrict the movement of components or damage the frame.
3. સેટઅપ અને એસેમ્બલી
The VEVOR Polycarbonate Greenhouse features a thickened aluminum frame and stainless steel screws for durability. Follow the steps below for proper assembly. Refer to the provided diagrams and videos for visual guidance.
3.1. ફ્રેમ એસેમ્બલી
Begin by assembling the base frame on a level surface. The thickened aluminum frame provides a sturdy foundation. Ensure all connections are secure but do not overtighten until all components are in place.

Figure 2: Comparison of thickened aluminum frame (left) versus thinner frames (right), highlighting durability and stability.
3.2. પેનલ ઇન્સ્ટોલેશન
The polycarbonate panels are designed for easy installation. Remember to remove the white protective film from the panels before sliding them into the frame channels. The panels offer UV protection and impact resistance.

Figure 3: Polycarbonate panels providing protection against weather elements.
૨.૪. દરવાજા અને બારીઓની સ્થાપના
Install the hinged door and the two vent windows. The large hinged door with stainless steel fittings allows for easy access and movement of equipment. The vent windows are adjustable to control airflow.

Figure 4: The large hinged door design for convenient entry and exit.

Figure 5: Adjustable vent windows for continuous airflow.
૪.૭. એસેમ્બલી વિડિઓઝ
For a comprehensive visual guide on assembly, please refer to the following official VEVOR videos:
Video 1: VEVOR Polycarbonate Greenhouse Assembly Guide. This video provides a general overview of the greenhouse assembly process.
Video 2: Installation Steps for Greenhouse Top Skylight. This video details the installation of the top vent windows.
For additional assembly insights, a video demonstrating installation steps for a similar 6x4ft VEVOR greenhouse model is available. While the size differs, many principles may apply:
Video 3: Explanation of 6x4ft Greenhouse Installation Steps. This video shows assembly for a smaller, similar model.
4. ઓપરેટિંગ સૂચનાઓ
4.1. વેન્ટિલેશન
The greenhouse is equipped with two adjustable vent windows. Open these vents to allow for continuous airflow, which helps regulate internal temperatures and humidity, especially on warmer days. Adjust the opening angle as needed to maintain optimal conditions for your plants.
4.2. Door Usage
The large hinged door can be opened wide for easy access when moving plants, gardening tools, or other equipment. The door features stainless steel fittings for smooth operation and includes mechanisms to secure it in both open and closed positions.
4.3. Light Transmission and Protection
The polycarbonate panels allow for light transmission up to 89%, ensuring your plants receive ample sunlight. The panels also feature a UV-resistant coating that absorbs and reduces harmful UVB rays, maintains a stable indoor temperature, and preserves beneficial visible light for plants.

Figure 6: Greenhouse interior showing ample light transmission for plant growth.
5. જાળવણી
- સફાઈ: Clean polycarbonate panels periodically with mild soap and water to maintain optimal light transmission. Avoid abrasive cleaners or tools that could scratch the surface.
- ફ્રેમ નિરીક્ષણ: Regularly inspect the aluminum frame for any signs of loosening screws or damage. Tighten any loose screws to ensure structural integrity.
- પેનલ સુરક્ષા: Check that all polycarbonate panels are securely seated in their channels. If any panels appear loose, re-secure them to prevent dislodgement during strong winds.
- હવામાન તૈયારી: In anticipation of strong winds or heavy snowfall, ensure all doors and vent windows are securely closed and latched. Consider additional external anchoring if your region experiences extreme weather conditions.
6. મુશ્કેલીનિવારણ
- Panels Popping Out: If panels frequently pop out, ensure they are fully seated in their channels. Applying a bead of clear silicone caulk along the edges where panels meet the frame can provide additional security and weatherproofing.
- ગ્રીનહાઉસ અસ્થિરતા: If the greenhouse feels unstable, verify that it is properly anchored to the ground. For installation on grass or soil, use reinforcement stakes. For concrete, use expansion screws for added stability. Ensure all frame connections are tight.
- Excessive Heat/Humidity: Utilize the adjustable vent windows to improve air circulation. On very hot days, partially opening the main door can also help reduce internal temperature.
- પાણી લિકેજ: Inspect all panel seams and frame connections for gaps. Apply weather-resistant sealant or caulk to any areas where water might be entering.
7. સ્પષ્ટીકરણો
| લક્ષણ | સ્પષ્ટીકરણ |
|---|---|
| મોડલ નંબર | AM037 |
| ઉત્પાદન પરિમાણો | 92.64"L x 158.64"W x 81.6"H (approx. 7.74 x 13.22 x 6.80 ft) |
| ફ્રેમ સામગ્રી | એલ્યુમિનિયમ |
| કવર સામગ્રી | પોલીકાર્બોનેટ (PC) |
| વેન્ટ્સની સંખ્યા | 2 |
| ડોર સ્ટાઇલ | હિન્જ્ડ ડોર |
| વસ્તુનું વજન | 121.9 પાઉન્ડ |
| રંગ | કાળો |
આકૃતિ 7: વિગતવાર ઉત્પાદન પરિમાણો અને વિશિષ્ટતાઓ.
8. વોરંટી અને સપોર્ટ
For warranty information, product support, or to inquire about replacement parts, please contact VEVOR customer service directly. Refer to your purchase documentation for specific warranty terms and contact details.


