1. પરિચય
Thank you for choosing the kejector 9-Inch Laminator Machine (Model FNL-011). This manual provides essential information for the safe and efficient operation, maintenance, and troubleshooting of your new laminator. Please read this manual thoroughly before use and retain it for future reference.
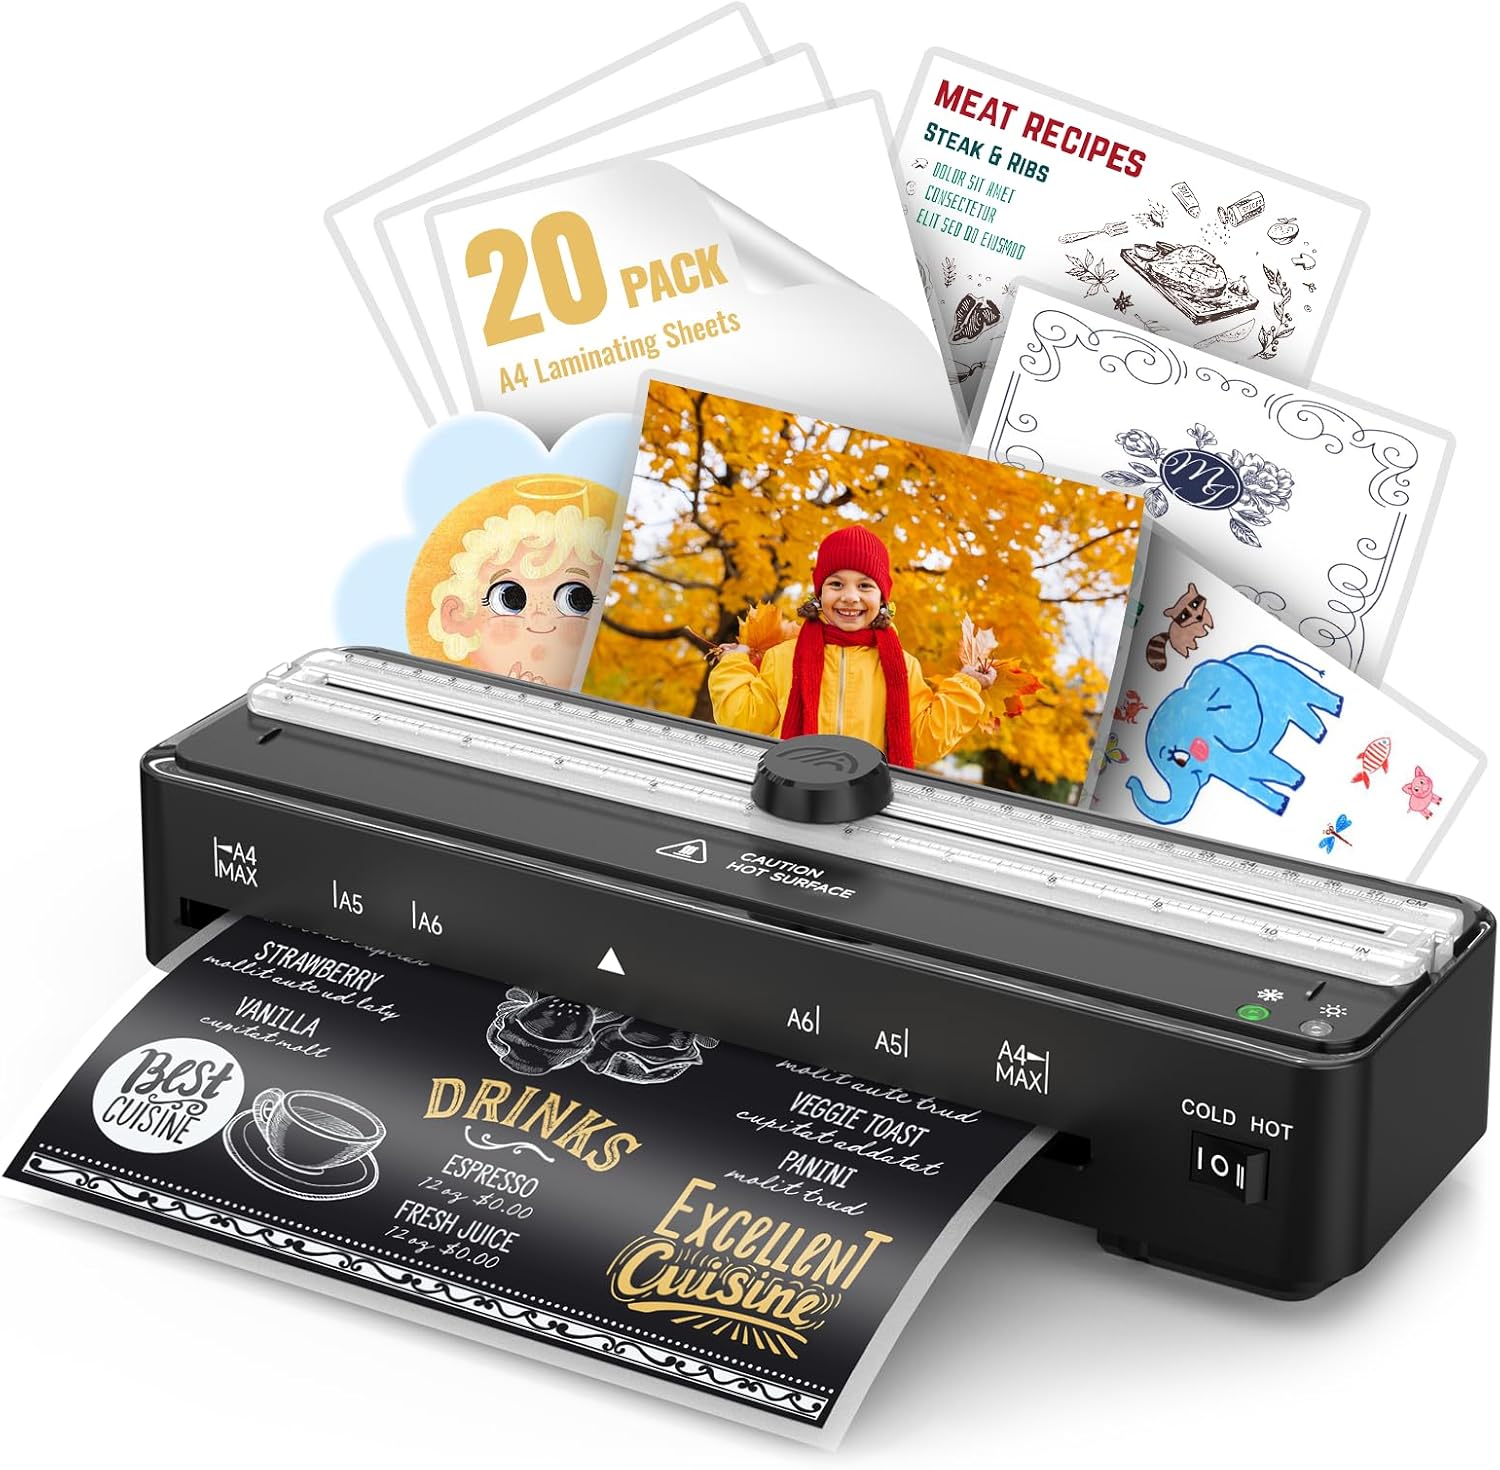
Figure 1: kejector 9-Inch Laminator Machine with included A4 laminating sheets and examples of laminated documents and photos.
2. મહત્વપૂર્ણ સલામતી સૂચનાઓ
- Read all instructions before using the laminator.
- Keep the laminator away from water or other liquids.
- Do not operate the laminator if the power cord or plug is damaged.
- મશીનની કામગીરી દરમિયાન તેની આસપાસ યોગ્ય વેન્ટિલેશનની ખાતરી કરો.
- Keep children and pets away from the laminator during use.
- જ્યારે ઉપયોગમાં ન હોય અથવા સફાઈ કરતા પહેલા લેમિનેટરને અનપ્લગ કરો.
- Do not attempt to open or repair the laminator yourself. Contact qualified service personnel.
- Use only laminating pouches recommended for this machine (80 to 125 microns).
3. પેકેજ સામગ્રી
ખાતરી કરો કે બધી વસ્તુઓ પેકેજમાં હાજર છે:
- kejector 9-Inch Laminator Machine (Model FNL-011)
- 20 x A4 Laminating Pouches
- વપરાશકર્તા માર્ગદર્શિકા
4. સેટઅપ
- અનપેકીંગ: Carefully remove the laminator and all accessories from the packaging.
- પ્લેસમેન્ટ: Place the laminator on a stable, flat, and heat-resistant surface. Ensure there is enough clear space behind the machine for laminated documents to exit without obstruction.
- પાવર કનેક્શન: પાવર કોર્ડને પ્રમાણભૂત ઇલેક્ટ્રિકલ આઉટલેટમાં પ્લગ કરો.
- પાવર ચાલુ: Locate the power switch (usually labeled "COLD HOT" or "I O II") and switch it to either "COLD" or "HOT" depending on your laminating needs.

Figure 2: The kejector laminator showing the power switch and input/output slots. Ensure the power cord is securely connected.
5. ઓપરેટિંગ સૂચનાઓ
5.1. વોર્મ-અપ સમય
For hot lamination, the machine requires approximately 90 seconds to warm up. The indicator light will turn from red to green when it is ready for use.

Figure 3: Visual representation of the laminator's 90-second quick warm-up time, indicated by a progress bar and a green ready light.
૫.૧. ગરમ લેમિનેશન
- દસ્તાવેજ તૈયાર કરો: Place your document inside a laminating pouch, ensuring it is centered and there is an even border around the edges.
- મોડ પસંદ કરો: Switch the laminator to the "HOT" setting.
- Wait for Ready Light: Wait for the green indicator light to illuminate, signifying the machine has reached the optimal temperature.
- પાઉચ દાખલ કરો: Insert the sealed edge of the laminating pouch into the laminator's input slot. The machine will automatically feed the pouch through.
- Retrieve Document: Once the laminated document exits the machine, place it on a flat surface to cool.
Figure 4: Illustration of the hot lamination process, suitable for common documents like letters and certificates.
૫.૨. કોલ્ડ લેમિનેશન
Cold lamination is suitable for heat-sensitive materials such as certain photos or delicate documents. Note that cold laminating pouches are not included and must be purchased separately.
- દસ્તાવેજ તૈયાર કરો: Place your document inside a self-adhesive cold laminating pouch.
- મોડ પસંદ કરો: Switch the laminator to the "COLD" setting.
- પાઉચ દાખલ કરો: Insert the sealed edge of the cold laminating pouch into the laminator's input slot. The machine will automatically feed the pouch through, applying pressure without heat.
- Retrieve Document: Once the laminated document exits the machine, it is ready for use.

Figure 5: Illustration of the cold lamination process, ideal for heat-sensitive items like photos or fragile papers.
5.4. Using the Built-in Paper Cutter
The laminator features a built-in paper cutter for precise trimming of laminated documents or paper. The cutter is located on the top of the machine.
- Position Document: Place the edge of the document you wish to cut under the cutter's guide.
- સંરેખિત કરો: Use the integrated ruler markings (CM and IN) to align your document for an accurate cut.
- કાપો: Gently slide the cutter knob along the guide to trim the document.
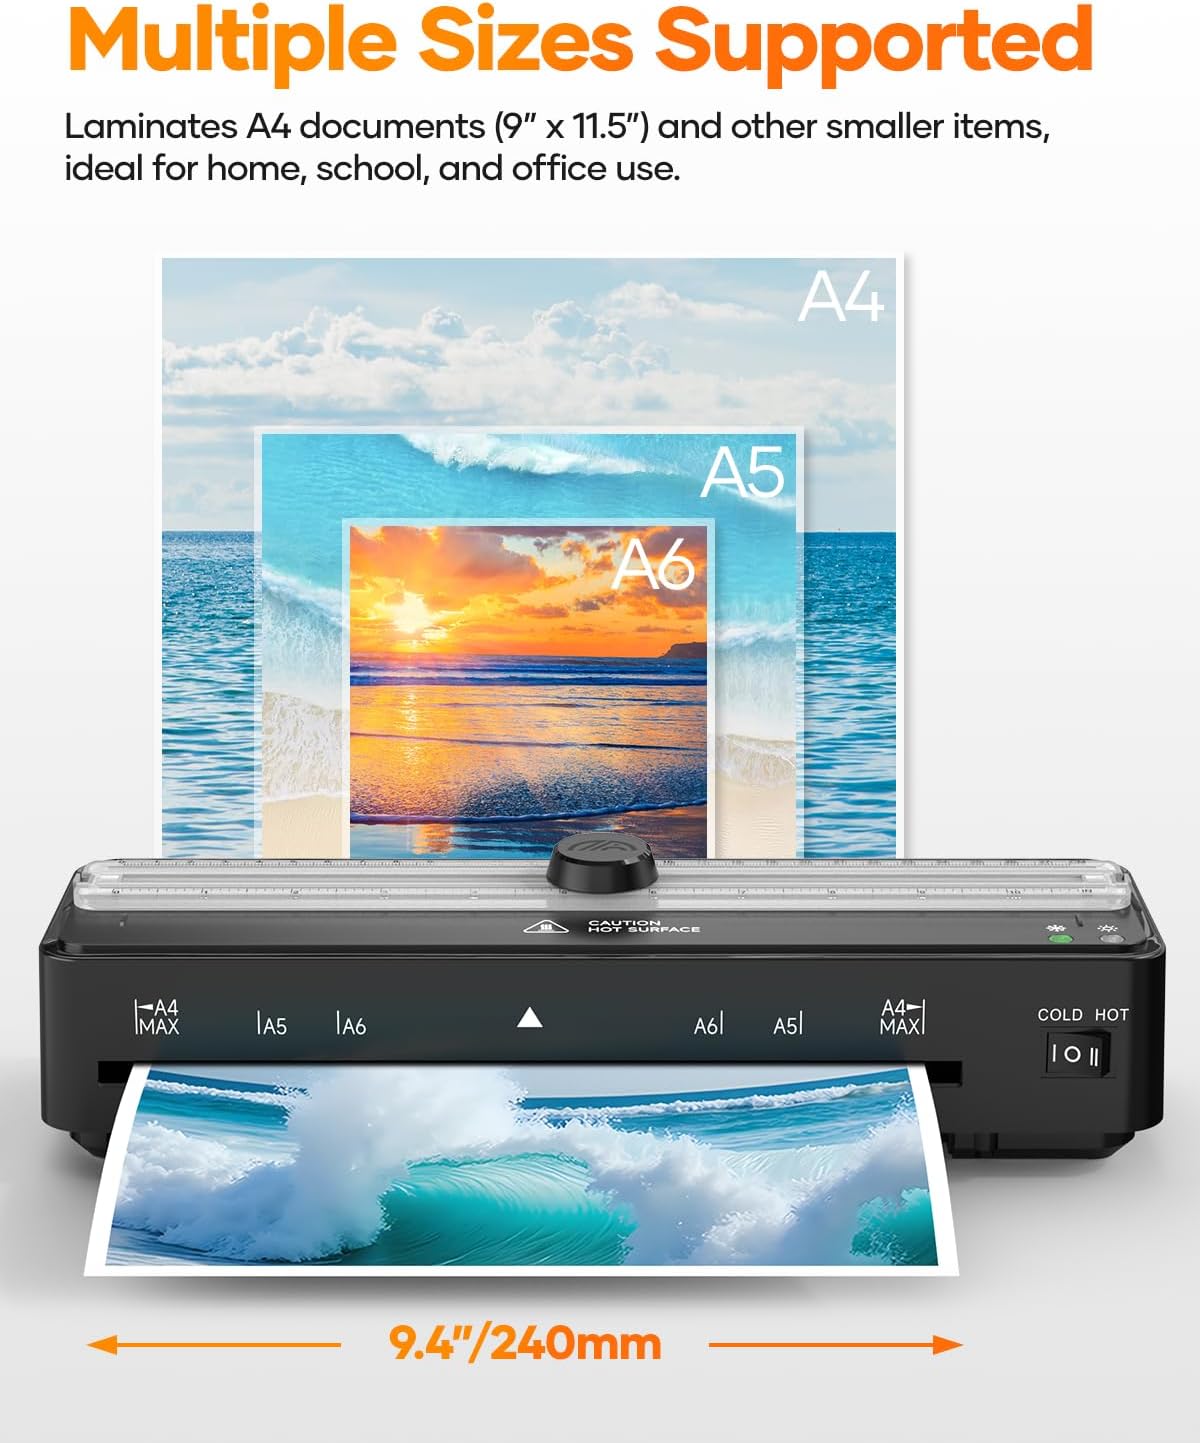
Figure 6: Demonstrates the use of the built-in paper cutter for precise and neat trimming of documents.
5.5. Jam-Free System with ABS Button
In the event of a paper jam, the laminator is equipped with an ABS (Anti-Blocking System) button to quickly release the rollers and clear the jam.
- બંધ કરો: Immediately turn off the laminator.
- Press ABS Button: Press and hold the ABS button (located on the side/back of the machine).
- Pull Out Pouch: Gently pull the jammed laminating pouch out of the input slot.
- પુનઃપ્રારંભ કરો: Release the ABS button and restart the laminator.

Figure 7: The ABS button on the laminator, used to quickly and safely release jammed documents.
5.6. Supported Pouch Thickness and Sizes
This laminator is compatible with laminating pouches ranging from 80 to 125 microns (3-5 mil) in thickness. It supports A4, A5, and A6 document sizes, with a maximum laminating width of 9 inches.

Figure 8: Illustrates the laminator's compatibility with different pouch thicknesses and document sizes, including A4, A5, and A6.
5.7. Operational Videos
Video: Built-in Paper Cutter A4 Laminator Machine
This video demonstrates the functionality of the built-in paper cutter on the kejector A4 Laminator Machine, showing how to achieve precise cuts.
6. જાળવણી
- સફાઈ: Ensure the laminator is unplugged and completely cool before cleaning. Use a soft, dry cloth to wipe the exterior. Do not use abrasive cleaners or solvents.
- રોલર સફાઈ: Occasionally, run a cleaning sheet (not included) through the laminator to remove any adhesive residue from the rollers.
- સંગ્રહ: Store the laminator in a cool, dry place away from direct sunlight and dust when not in use.
7. મુશ્કેલીનિવારણ
| સમસ્યા | સંભવિત કારણ | ઉકેલ |
|---|---|---|
| Laminator not turning on. | વીજ પુરવઠો નથી. | Check if the power cord is securely plugged in and the power switch is on. Try a different outlet. |
| Pouch is jammed. | Incorrect insertion or foreign object. | Turn off the machine, press and hold the ABS button, and gently pull out the pouch. |
| Poor lamination quality (bubbles, wrinkles). | Incorrect temperature setting, old pouches, or incorrect pouch thickness. | Ensure the correct mode (HOT/COLD) is selected. Use fresh, high-quality pouches within the 80-125 micron range. Allow sufficient warm-up time. |
| Laminator is slow. | Normal operation speed. | The machine operates at a speed of 320mm/min. This is normal. |
8. સ્પષ્ટીકરણો
- બ્રાન્ડ: કીજેક્ટર
- મોડલ: FNL-011
- Laminating Width Maximum: 9 ઇંચ
- શીટનું કદ: A4 Inches (supports A4, A5, A6)
- વોર્મ-અપ સમય: 90 Seconds (approx. 1.5 minutes)
- Laminating Speed: 320 મીમી/મિનિટ
- પાઉચની જાડાઈ: 80-125 microns (3-5 mil)
- Lamination Modes: ગરમ અને ઠંડા
- વિશેષતાઓ: Built-in Paper Trimmer, ABS Jam Release, Auto Shut-Off (overheat protection)
- વસ્તુનું વજન: 2.61 પાઉન્ડ
- પેકેજ પરિમાણો: 13.27 x 5.47 x 4.49 ઇંચ
9. વોરંટી અને સપોર્ટ
For warranty information or technical support, please refer to the product packaging or contact kejector customer service directly. Keep your purchase receipt as proof of purchase.
વધુ સહાય માટે, કૃપા કરીને મુલાકાત લો kejector Store on Amazon.


